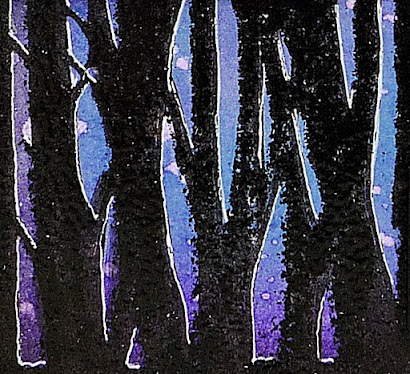
I thought I would show you how I created my Forest Dreams card using the beautiful Forest Stencil from Visible Image. It took a little while to make but I think it was well worth it 😎.
There is a list of things you will need at the end of this post and links to the shops and social media groups.
And here we go...
First cut a piece of white card 6" x 6". Use the blending tool to apply Ocean Blue and Midnight inks over the card so that you have lighter and darker patches. Then add a little Plum Pudding over bits of the card and all around the edges. You could use any dye based ink instead eg Distress inks to get the same effect.
Use your paint brush to flick some water droplets over the card, wait a few seconds and dab off with kitchen paper. Take a round pot about 2" diameter and place it in the top right hand corner. Wet your round paint brush and draw around the pot. Remove the pot and dab off the water with kitchen towel.
Use your flat brush to gently apply water to the circle in a circular motion and dab off with kitchen towel to faux bleach a moon shape. Dry the card with a heat gun.
Use the Sparkle pen to fill in the moon and then tap your pen over the card to add some sparkly drops.
Dry your card again and then add Jet Black ink around the edges of the card to create a vignette, then dry it again. Your card will look something like this :-
Wipe over your card with an anti static bag.
Place The Forest stencil over your card and tape them together along the top edge.
Flip up the stencil then press your versafine black ink pad over the whole stencil. Your ink pad need to be quite juicy to get a good letter press, but you can re-apply.
Flip the inked up stencil back over your card and pass it through your die cutting machine using the plate combo used for thin metal dies.
Check that the ink has transferred to your card. If it is patchy then re-ink the stencil and pass it through the machine again.
Carefully remove the stencil, cover your inked up card with clear embossing powder, tip off the excess and melt with your heat gun.
Add white highlights to the top and right hand side of the trees and branches where the moonlight would hit them and a little at the ground between the trees.
Trim down the card if necessary at this stage.
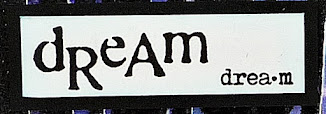
Take the Dream stamp from the Imagine, Dream Inspire set, mask off with paper so that only the Dream words are showing and ink up with versafine black. Remove the paper masks and stamp onto a scrap of white card. Heat emboss with clear embossing powder.

Matt and layer your forest card onto white card (1/16" border) and then onto black card (1/4" border) and then onto a 7" x 7" white card blank.
Attach your sentiments using double sided foam tape or 3d glue gel so they are raised up.
Here is my finished card.
I hope you have enjoyed this project, thanks for stopping by,
Ali xxx
You can purchase these stamps and stencils here https://visibleimage.com/
Items used
- Visible Image Stamps - Night Owl and Imagine Dream, Inspire
- Visible Image stencil - The Forest
- Spectrum Noir Harmony inks in Ocean Blue, Midnight, Plum Pudding & Jet Black
- Blending tool & foams
- Clear Sparkle Pen
- Paint brushes - round 3 and 1/4" flat
- Small jar to draw around eg. Pebeo gilding wax pot
- Water pot
- Kitchen towel
Craft Mat
Heat gun
Clear embossing powder
White gel pen
White card (300gsm) and Black card for matting & layering
Black Onyx Versafine Ink pad
Die cutting machine
Stamping Platform
7" x 7" white card blank
Masking tape
double sided foam tape or 3d glue gel
Facebook Group https://www.facebook.com/groups/visibleimage
Facebook PAGE https://www.facebook.com/visibleimage
Pinterest https://www.pinterest.com/visibleimage


Fab make Ali. I love inking stencils and embossing folders x
ReplyDeleteThanks Jenny xxx
Delete