This week I am sharing a tutorial on how to make this Autumnal card which has a little nod to Halloween.
Cut a piece of 300gsm white card 7" x 7".
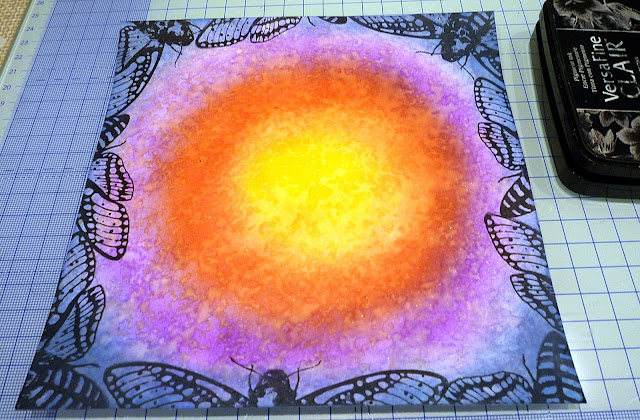
Brush yellow (Mustard Seed) distress oxide ink in a circle approx 3 1/2" in diameter in the centre of the card. Next apply a ring of red distress oxide (Candied Apple) around the yellow, blending where they meet.Then a ring of purple (Wilted Violet) and finally with dark blue (Chipped Sapphire), covering the corners also.
Spritz a little pearlescent ink into a foil tin.
Pick up a little ink with a sponge and dab over sections of your coloured panel. Work in a spiral so that the base colours don't become muddy.
Dry your card with a heat tool,
Use black versafine ink to stamp the largest moth from the Visible Image Glimmer of Light set around the edges of your panel, off the sides to create an inky, mothy border. Dry the card with a heat tool and pat an anti static pad over it.
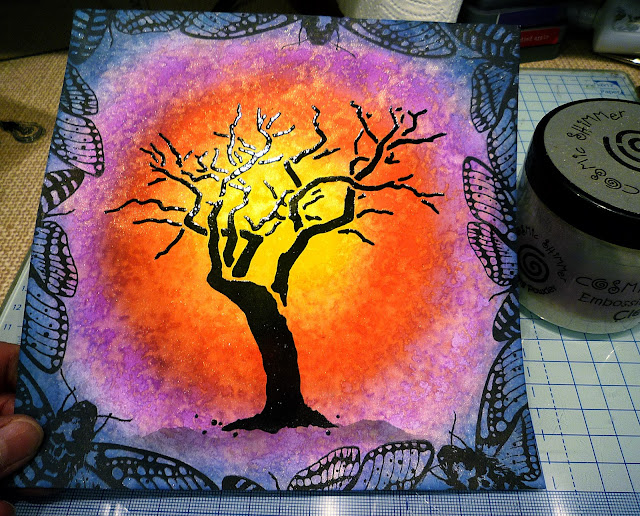
Place the Branch Out stencil over your panel, use low tack tape or hold it place while applying black versafine ink with a soft brush applicator. Apply quite a lot of ink to get a solid black image .
Remove the stencil and heat emboss the tree with clear embossing powder.
Tear a strip of copy paper and place the uneven edge downwards at the base of the tree, ink over with black versafine - to ground it. Use a blending tool around the panel edges with black ink, creating a vignette.
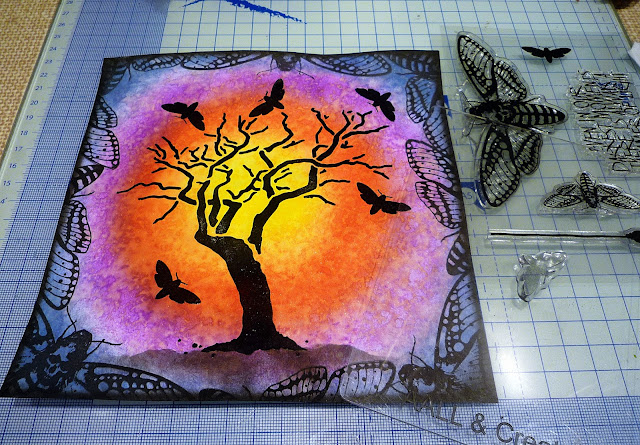
Stamp 5 of the small solid moths around the top and left side of the tree using black versafine ink and clear heat emboss.
Add texture by stamping the sentiment using orange (Ripe Persimmon) and yellow (Mustard Seed) distress ink over some sections.
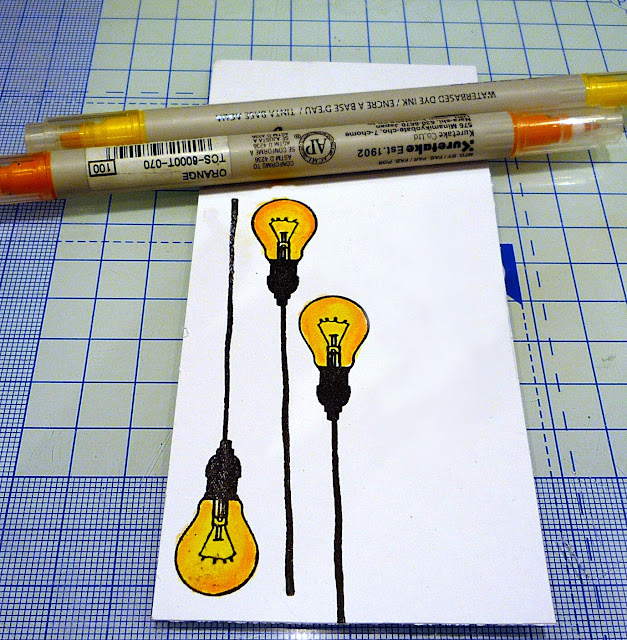
Stamp 3 of the hanging light bulbs onto white card using black versafine. Colour with yellow and orange watercolour pens (Zig Clean color markers). Fussy cut using scissors.
 Wipe an anti static pad over a piece of black card. Stamp the sentiment in white pigment ink and heat emboss with white embossing powder.
 Press a black soot ink pad onto a craft mat, add a spritz of water and fill in the moth border with a paint brush. Dry the panel again with a heat tool.
Use pva glue to fix the panel to black card with a border of approx 3/16" and then onto a white 8" x 8" card blank.
Glue 2 of the hanging bulbs at the top left and one hanging from the tree. Trim the sentiment and attach to the bottom left using foam tape, add a couple of self adhesive gems to the top right.
Add some highlights to the bulbs, moths, tree and ground with a white gel pen.
Finally add glossy accents to the bulbs and leave to dry for 20 mins.
I hope you have enjoyed this project, thanks for stopping by,
Ali xxx
Items Used
- Visible Image Stamps - Glimmer of Light
- Visible Image Branch Out stencil
- Distress Oxide Ink pads - Mustard Seed, Candied Apple, Wilted Violet, Chipped Sapphire
- Mustard Seed, Ripe Persimmon & Black Soot Distress Ink
- Black pigment ink for edging - Cosmic Shimmer or use black versafine
- White Pigment ink pad - Hero Arts Unicorn
- Versafine Clair Ink pad - Black Onyx
- anti static pad
- Clear and white embossing powders
- Pearlescent Spray - Cosmic Shimmer Pearlescent Airless Mister
- white gel pen
- Heat tool
- white stamping card 300gsm - Pink Frog Supersmooth
Black card for matting & layering
8" x 8" white card blank
Glossy Accents
Paint Brush, PVA glue, double sided foam pads, blending tools, scissors
Facebook Group https://www.facebook.com/groups/visibleimage
Facebook PAGE https://www.facebook.com/visibleimage
Pinterest https://www.pinterest.com/visibleimage


No comments:
Post a Comment