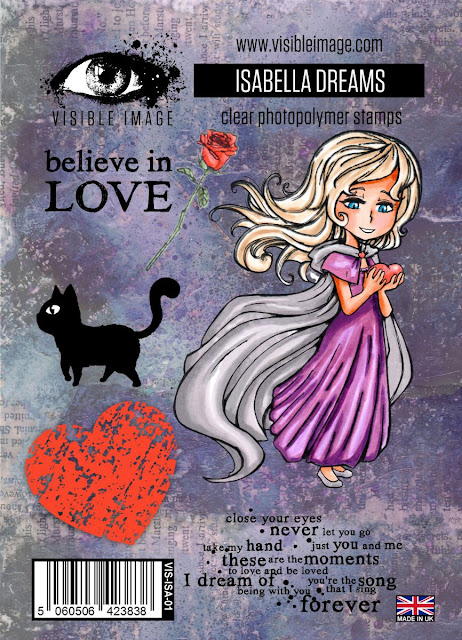
This week I am sharing my Isabella Dreams sample using the new stamps and coordinating dies which are being released on September 22nd (available to preorder now).
I blended Spectrum Noir harmony inks for my base layer then stamped the ‘Round in Circles’ background stamp in distress oxide inks and some white heat embossing. I then applied black texture paste through ‘Baroque Frame’ stencil and added black glitter. I stamped and coloured Isabella with Triblend markers, and die cut her together with the cats and rose from the set. The text stamp was embossed in white on black card and cut out. I then adhered all the images and sentiment to my background.

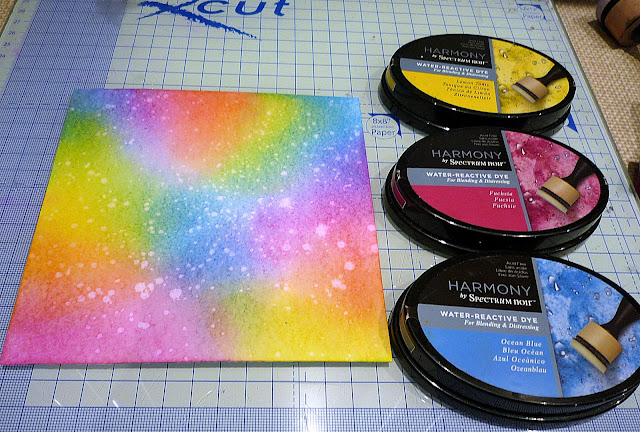
Cut a piece of white stamping card 5 1/2" x 5 1/2" and blend yellow, pink and blue dye based ink over it. I used Spectrum Noir Harmony ink in Lemon Tonic, Fuchsia and Ocean blue. I love the brightness and luminosity of these. Flick a few water drops over the card to faux bleach, leave for 20 secs and dry with a paper towel.
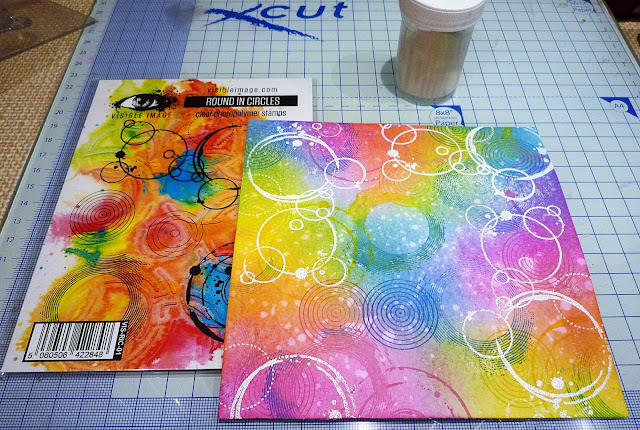
Take the smaller stamps from the Visible Image Round in Circles stamps and stamp using mustard seed, picked raspberry and ocean blue distress oxides, stamp off the edges and keep mostly to the colour patches on the card. Dry the card with a heat gun and then swipe an anti static pad over it.Stamp the large intersecting circles stamp over a few places using versamark ink and then heat emboss with white embossing powder.
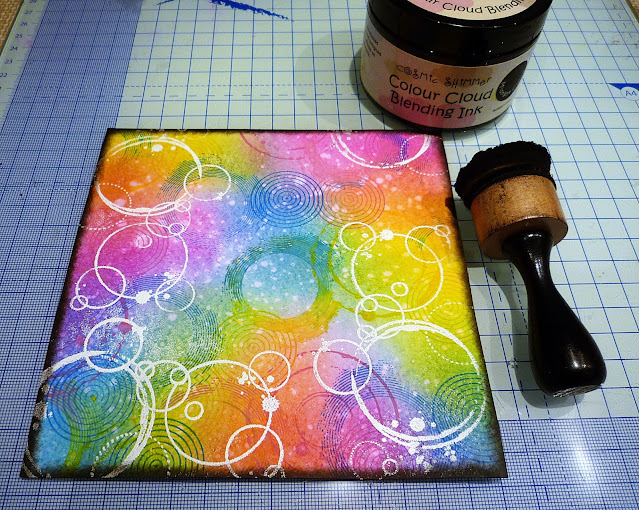
Use a blending tool to add a vignette by adding black ink around the edges of the panel.
Use low tack tape to attach the back of the coloured panel to the Baroque stencil to hold it in place.
Use the back of a spatula to spread a thin layer of black texture paste, like buttering toast.
Peel back the stencil and put it in water to clean later. While the paste is still wet, cover it it black or a dark coloured glitter. Tap off the excess and leave to dry naturally. Stamp Isabella, the rose and 3 of the cats using black versafine ink and heat emboss with clear embossing powder. Cut out with the coordinating dies.
Colour with your favourite markers, I used Spectrum Noir Triblends. I did an extra Bella to practice my colouring.
Also colour the rose. Add a few highlights to your image using a white gel pen. Stamp the sentiment onto black card and white heat emboss. Trim down the sentiment.
When the texture paste is completely dry, brush the excess glitter away with a soft brush. Fix the stamped panel to black card with pva glue, leaving a border of 1/4" then onto a white 7"x7" white card blank.
Glue the rose to the side of the sentiment and fix Bella, the 3 cats and the sentiment using 3d glue gel or foam pads.
Admire your vibrant and sparkly finished piece 😎
I hope you have enjoyed this project, thanks for stopping by,
Ali xxx
Visible Image Stamps - Isabella Dreams, Round in Circles
Visible Image Isabella Dreams Coordinating Dies
Visible Image Baroque Frame stencil
Spectrum Noir Harmony Ink pads - Lemon Tonic, Fuchsia, Ocean Blue
Distress Oxide Ink pads - Mustard Seed, Picked Raspberry, Salty Ocean
Black pigment ink for edging - Cosmic Shimmer or use black versafine
Versafine Ink pad - Black Onyx
Black glitter
Versamark ink pad
Black Texture paste - Sue Baker's black structure paste/Cadence/Tim Holtz
anti static pad
embossing powders - white & clear
Marker pens - Spectrum Noir Triblends
white gel pen
Heat gun
white stamping card 300gsm - Pink Frog Supersmooth
Black card for matting & layering
7" x 7" white card blank
3d glue gel, PVA glue, double sided foam pads, low tack tape, blending tools, scissors, spatula, soft brush, die cutting machine


No comments:
Post a Comment