Today's blog post for Visible Image celebrates summer and the glorious sunshine we are having at the moment.
This project is a quick one with lots of bling provided by the Cosmic Shimmer Shakers.
Stamp the big sun from the Visible Image Rise and Shine twice onto white card with black versafine ink and heat emboss with clear embossing powder.
Stamp a sentiment from the Just Be Happy stamp set in black and clear heat emboss as before.
Cut a piece of white heavy card stock, watercolour or 300gsm is best for this one to 14cm square.
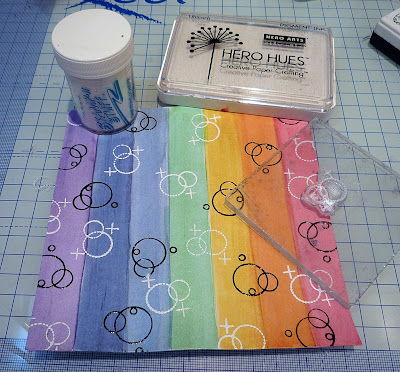
Lightly pencil a line every 2cm, dividing the piece into 7 for the rainbow.R - Raspberry Rose
O - Tangy Tangerine
Y - Bright Sunshine
G - Lime Burst
B - Cornflower Blue
I - Denim Blue
V - Deep Purple
Paint your 2 suns and the blocked letters on your sentiment with the remaining paint on your mat. You may need to mix a bit more Bright Sunshine and Tangy Tangerine.
The suns will be overlaid so the bottom one just needs to have some colour on it.
Fussy cut them out leaving a little border around the embossed lines.
Wipe over your rainbow panel with an anti static pad.
Stamp the bubble over the panel in black versafine ink and heat emboss with clear embossing powder.
Take the second circles stamp (with the plus signs on it) and stamp over your panel in a light coloured pigment ink.
Stamp over the edge in places to add interest.
Then heat emboss with white embossing powder.
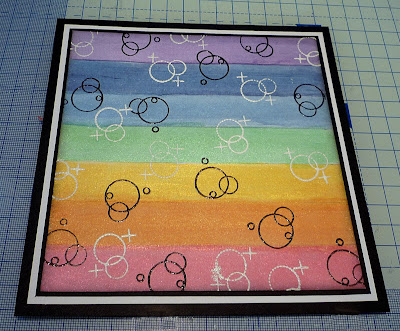
Apply a little black soot distress ink around the edges of your rainbow panel to add a vignette.
This will draw your eye into the centre of the card.
Mount your panel onto black card with a 1/16" border, onto white card with a 1.8" border, onto another black card with a 3/16" border and then attach it to your 7"x7" white card blank.
Use 3d glue gel/foam pads to attach your base sun onto your card so it's slightly raised.
Repeat with your second sun so that it's slightly raised again
Attach the sentiment to the bottom left using 3d gel or pads as before.
Items used
- Visible Image Stamps - Rise and Shine, Just Be Happy
- Cosmic Shimmer Shakers in Raspberry Rose, Tangy Tangerine, Bright Sunshine, Lime Burst, Cornflower Blue, Denim Blue and Deep Purple
- Black Soot Distress Ink
- Anti Static pad
- Light Coloured pigment ink such as Hero Arts Unicorn White or any pale distress oxide ink pad Black Versafine ink pads
- White and Clear embossing powders
- Paint brush
- White and black card for matting and layering
- 7" x 7" white card blank
- 3D glue gel & foam pads
- pva


No comments:
Post a Comment