This week I am sharing a tutorial on how to make this Autumnal card which has a little nod to Halloween.
Saturday, 30 September 2023
Sunday, 17 September 2023
Visible Image - Black Cat Magic
This week I am sharing my Isabella Dreams sample using the new stamps and coordinating dies which are being released on September 22nd (available to preorder now).
I blended Spectrum Noir harmony inks for my base layer then stamped the ‘Round in Circles’ background stamp in distress oxide inks and some white heat embossing. I then applied black texture paste through ‘Baroque Frame’ stencil and added black glitter. I stamped and coloured Isabella with Triblend markers, and die cut her together with the cats and rose from the set. The text stamp was embossed in white on black card and cut out. I then adhered all the images and sentiment to my background.
Saturday, 2 September 2023
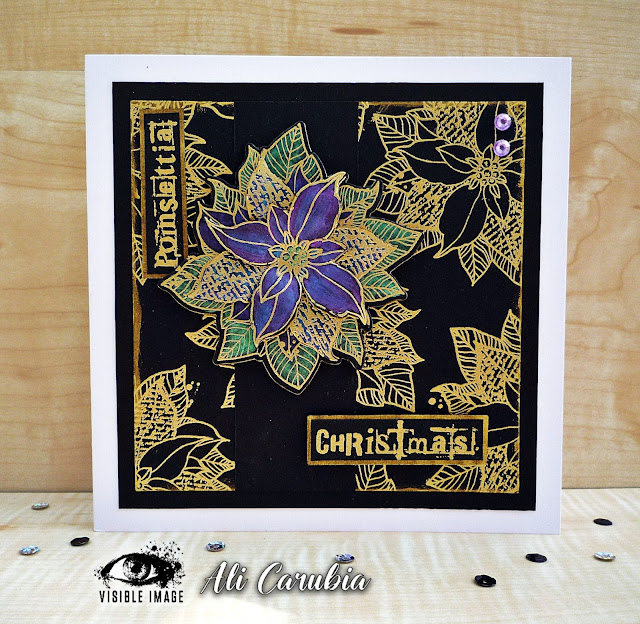
Visible Image - Regal Poinsettia - 3rd Sept 2023
Had a lovely time playing with the new release of Visible Image dies, went to town with black card, gold embossing powder and iridescent watercolours 😎
To start off, wipe an anti static pad over black card, stamp 3 large flowers and 9 small flowers using pigment ink and heat emboss with gold embossing powder.
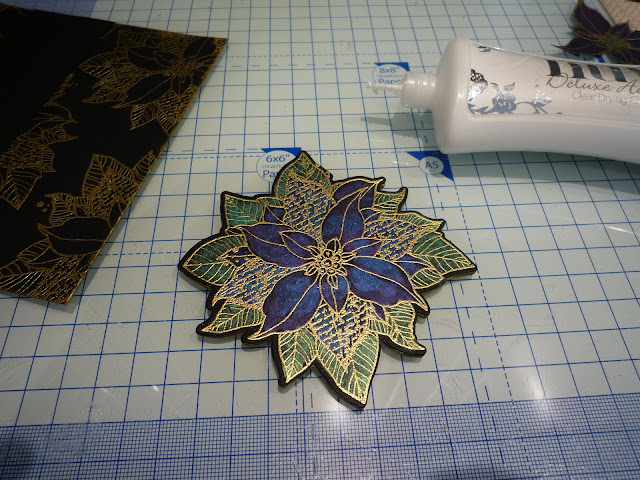
Cut out using the new Poinsettia Grunge dies. Cut an extra 5 or 6 large flowers out of the black card (doesn't need to be stamped).
Use pva glue to fix the black flower die cuts together. Use a little gold acrylic paint on a sponge to colour the edges of the thick black flower.
Use the sponge to edge around the stamped panel and then wipe the excess paint onto scrap black card.
Cut down 2 of the large stamped flowers so they will layer up.
If the gold embossed edge flake off, fill in the missing line with a gold gel pen.
Paint the flowers with iridescent/metallic watercolour paints.
Matt onto black card with a border of 1/4" and then onto a white 7" x 7" card blank using pva glue.
Stamp the Christmas and Poinsettia sentiments onto black card with pigment ink and heat emboss with gold embossing powder. Trim down and then matt and layer into the painted gold scrap card with approx 1/16" border.Items used
- Visible Image Stamps - Poinsettia Grunge stamps and dies
- Versafine Ink pad - Black Onyx
- Pigment ink pad - Hero Arts Unicorn White
- anti static pad
- Gold Embossing Powder (Wow metallic gold rich)
- Gold Acrylic paint (Pebeo Dyna 352 Iridescent gold)
- Iridescent/metallic watercolours (Cosmic Shimmer Iridescent Brights)
- gold gel pen
- Square of kitchen sponge
- Heat gun
Black card for matting & layering 200gsm or heavier
7" x 7" white card blank
3d glue gel, PVA glue, red liner tape and double sided foam pads
Visible Image - Sunny Birthday
This week I've used the gorgeous Sunflower Grunge stamps from Visible Image to make a bright and sunny birthday card for my mum, Decemb...

-
I made a card very similar to this for the release of Tracy Evan's May 2023 collection for AALL & Create using the beautiful #924 Fl...
-
We were lucky enough to have a few Caribbean holidays in the past, so glad we went on adventures and didn't wait until retirement. The ...
-
Using the Butterfly Blooms ( UMSDB043 ) stamp from Creative Expressions Designer Boutique to make this metallic, decoupaged card - love thi...


.jpg)


