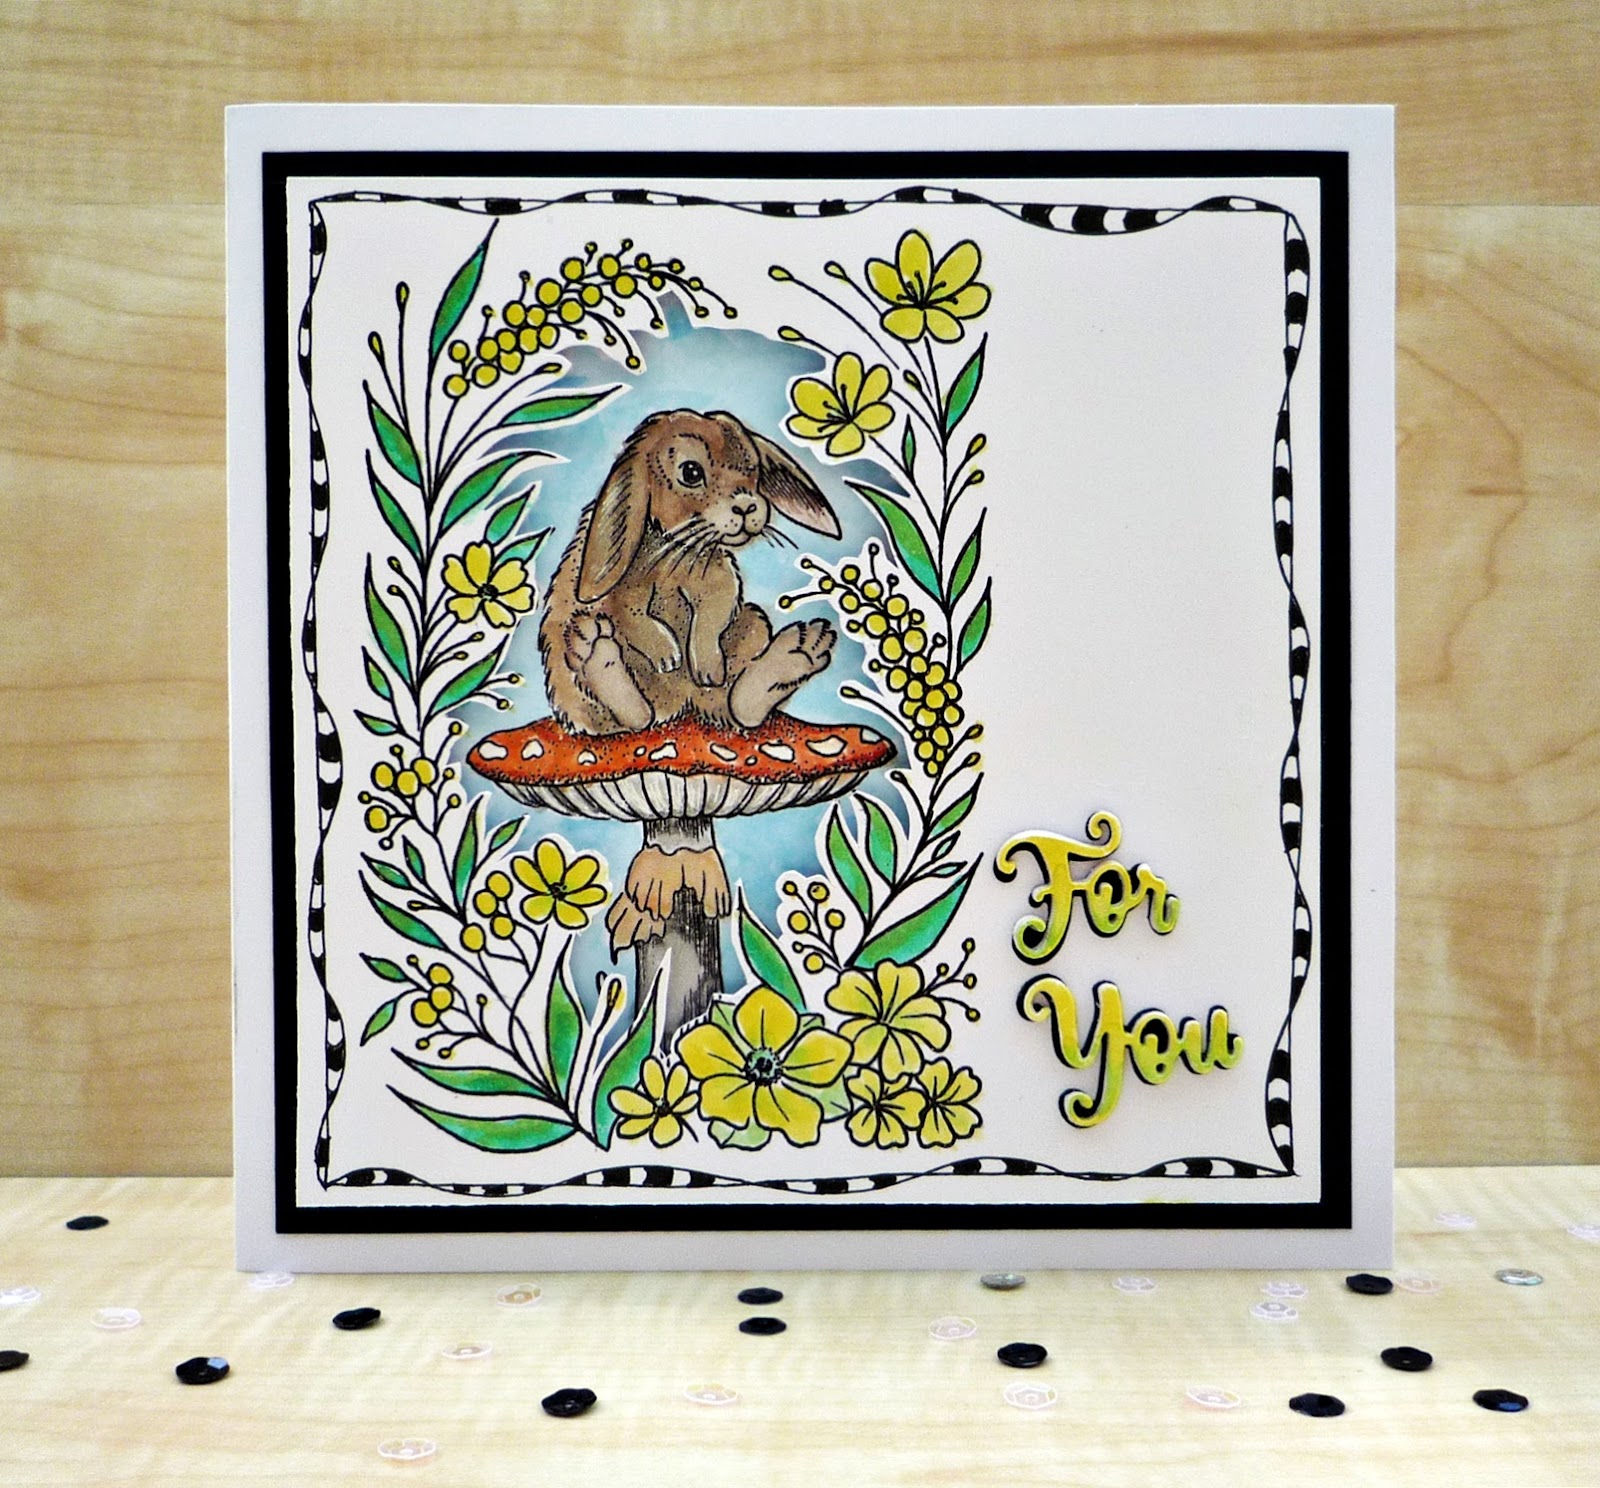
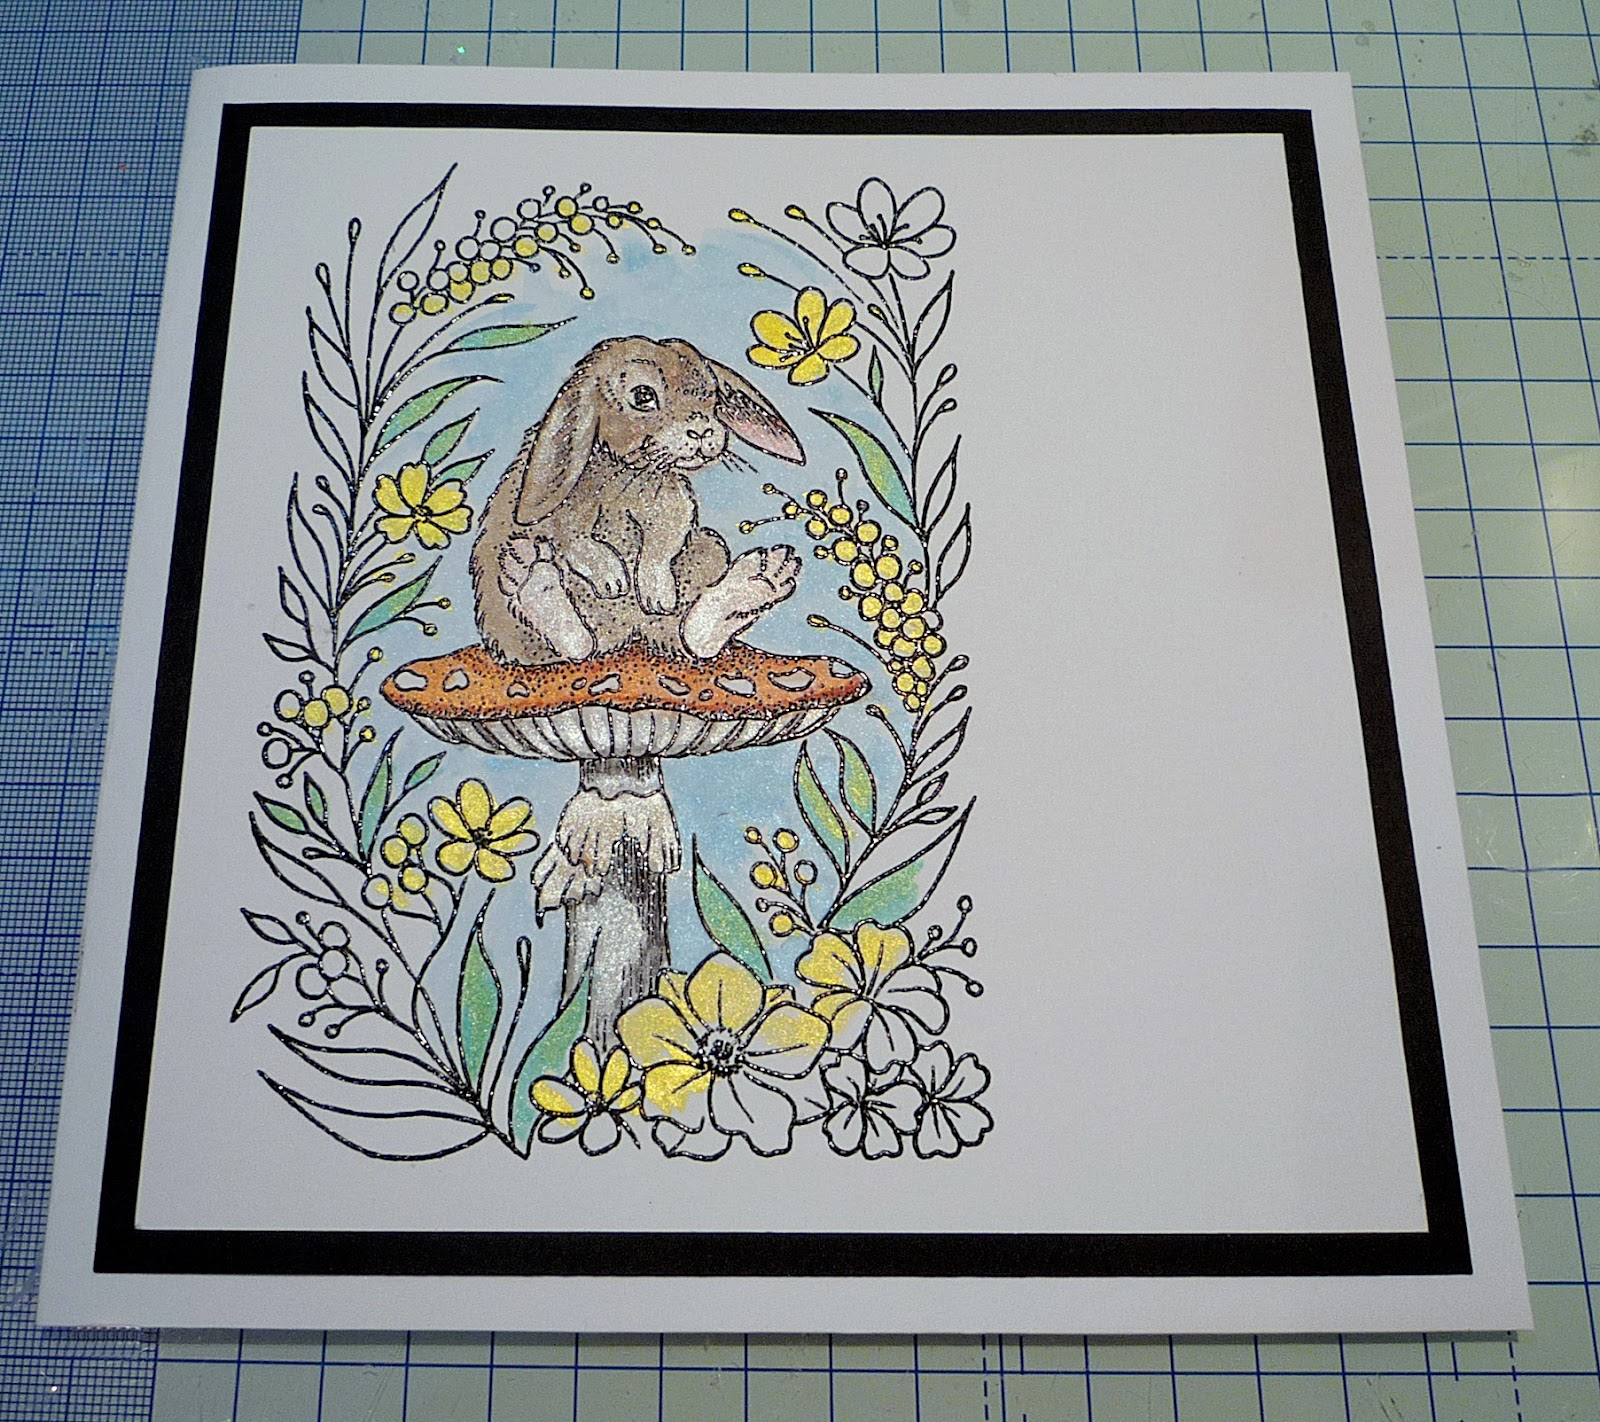
Card Project Name : CE Designer Boutique Daydream Bunny
Items Used:
UMSDB080 - CE Designer Boutique Daydream Bunny clear stamp
CEDSS002 - Creative Expressions Mini Shadowed Sentiments For You
CSIWPSET2 - Cosmic Shimmer Iridescent Watercolour Palette Carnival Brights
VF-82 - Versafine black ink pad
CSEPCLEAR - Cosmic Shimmer Clear Embossing Powder 20ml
CSGLUE - Cosmic Shimmer Dries Clear Glue
Also - 7” x 7” white card blank, Stamping Platform, white card, black card, heat tool, foam pads, antistatic pad, cutting mat and craft knife, Black finer liner pen
Steps :
Cut 2 pieces of white foundation card 6” x 6” (150mm x 150mm). Position the stamp towards the left hand side of the card on your stamping platform. Pat an antistatic pad over your card, stamp the Designer Boutique Daydream Bunny with versafine black onyx ink and heat emboss with clear embossing powder.

Repeat with the second piece card.
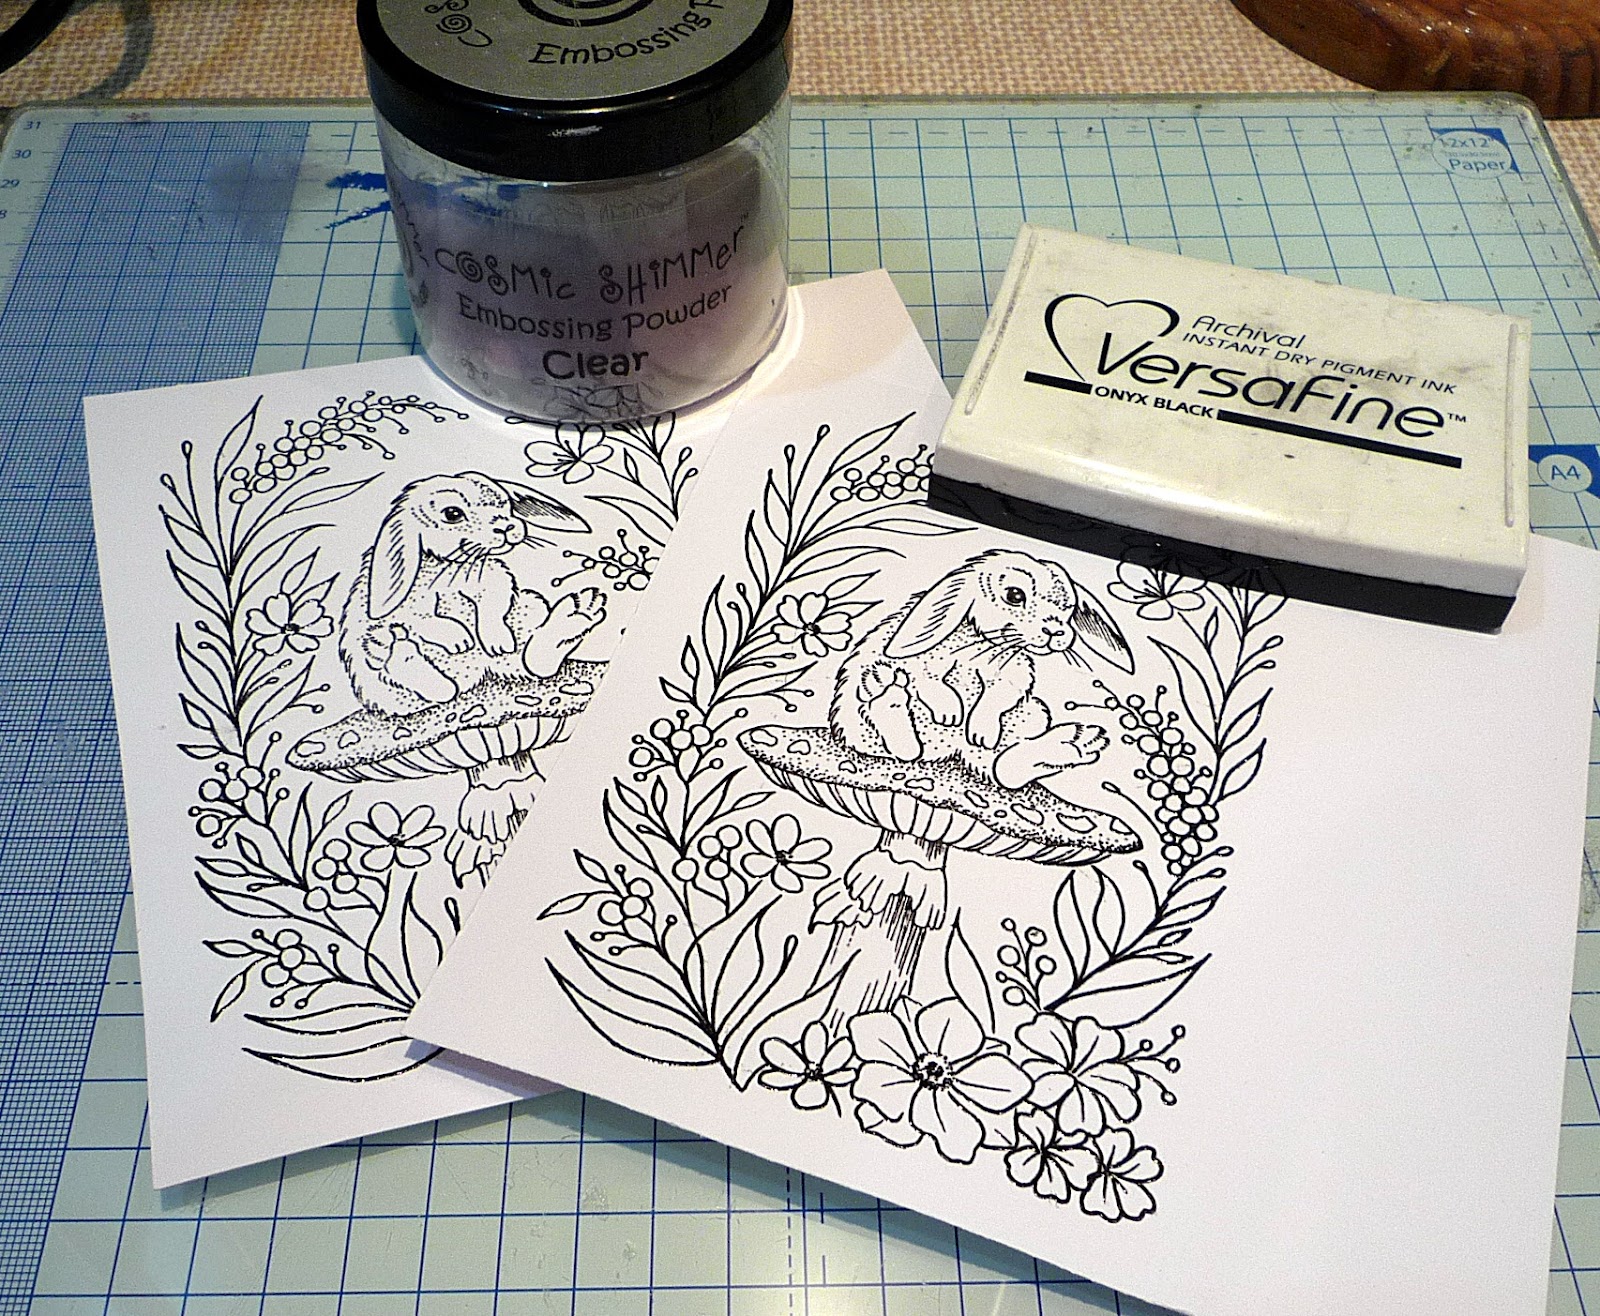
Use a craft knife and self healing mat to cut out the centre of the image. Use scissors to neaten up the edges.

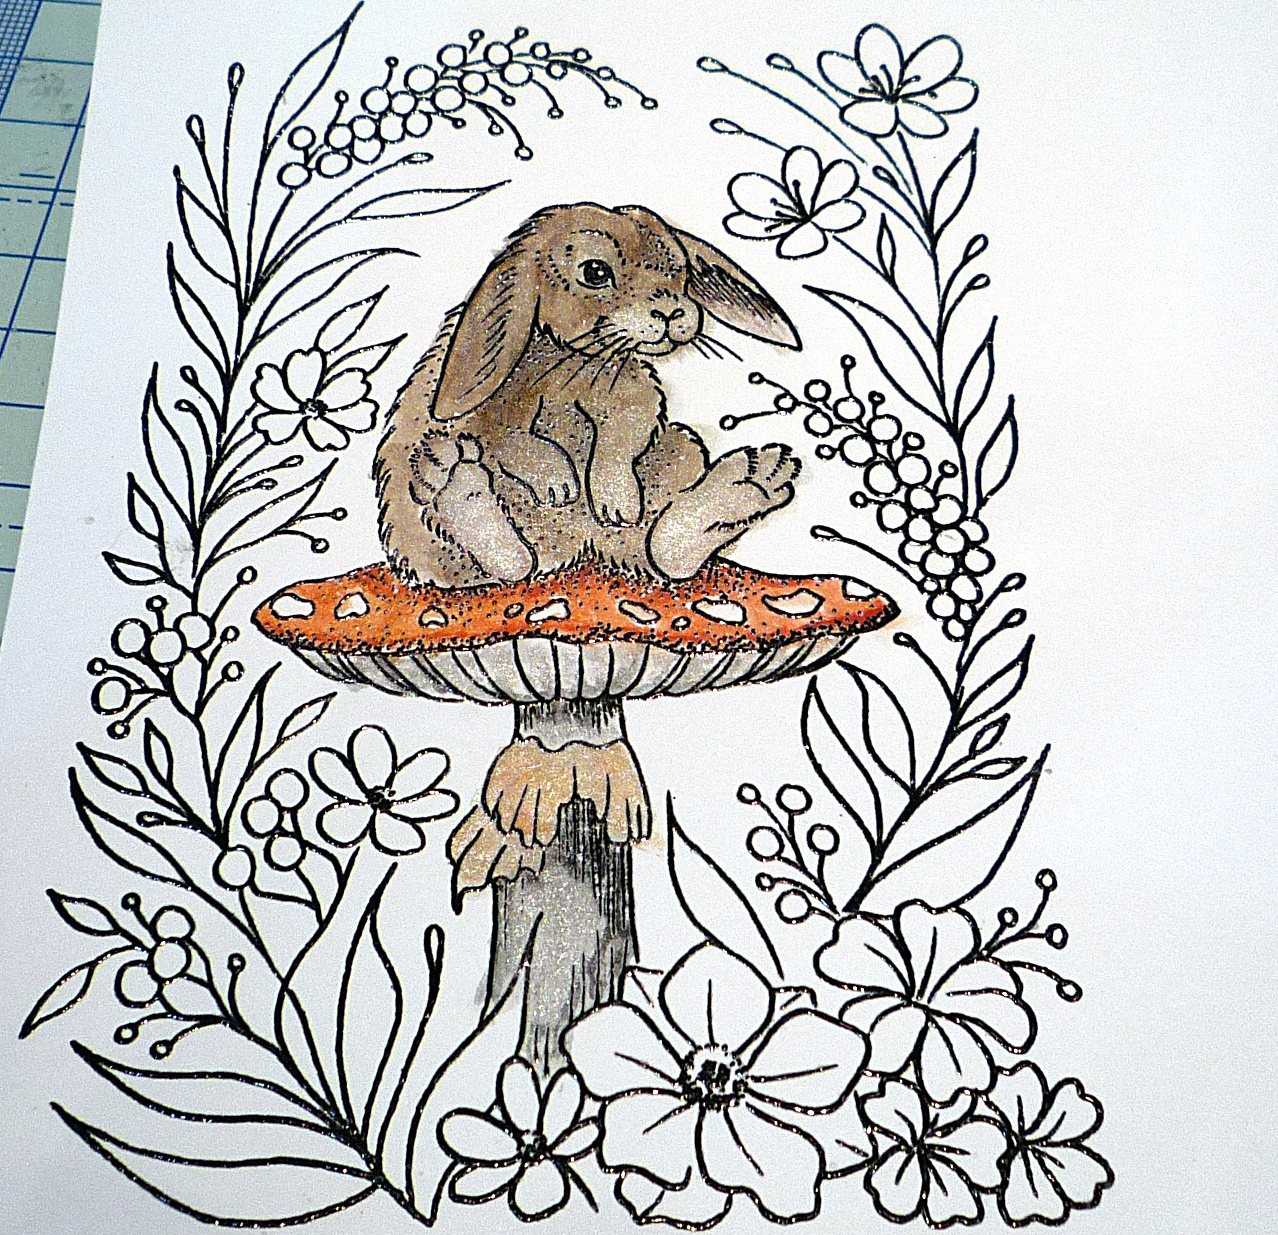
4. Use the red, green and a bit of yellow from the Carnival Brights palette with a little water to make brown for the bunny, paint his ears and feet pink. Use red and orange to colour the top of the toadstool.
5. Use the blue to paint the background around your bunny.
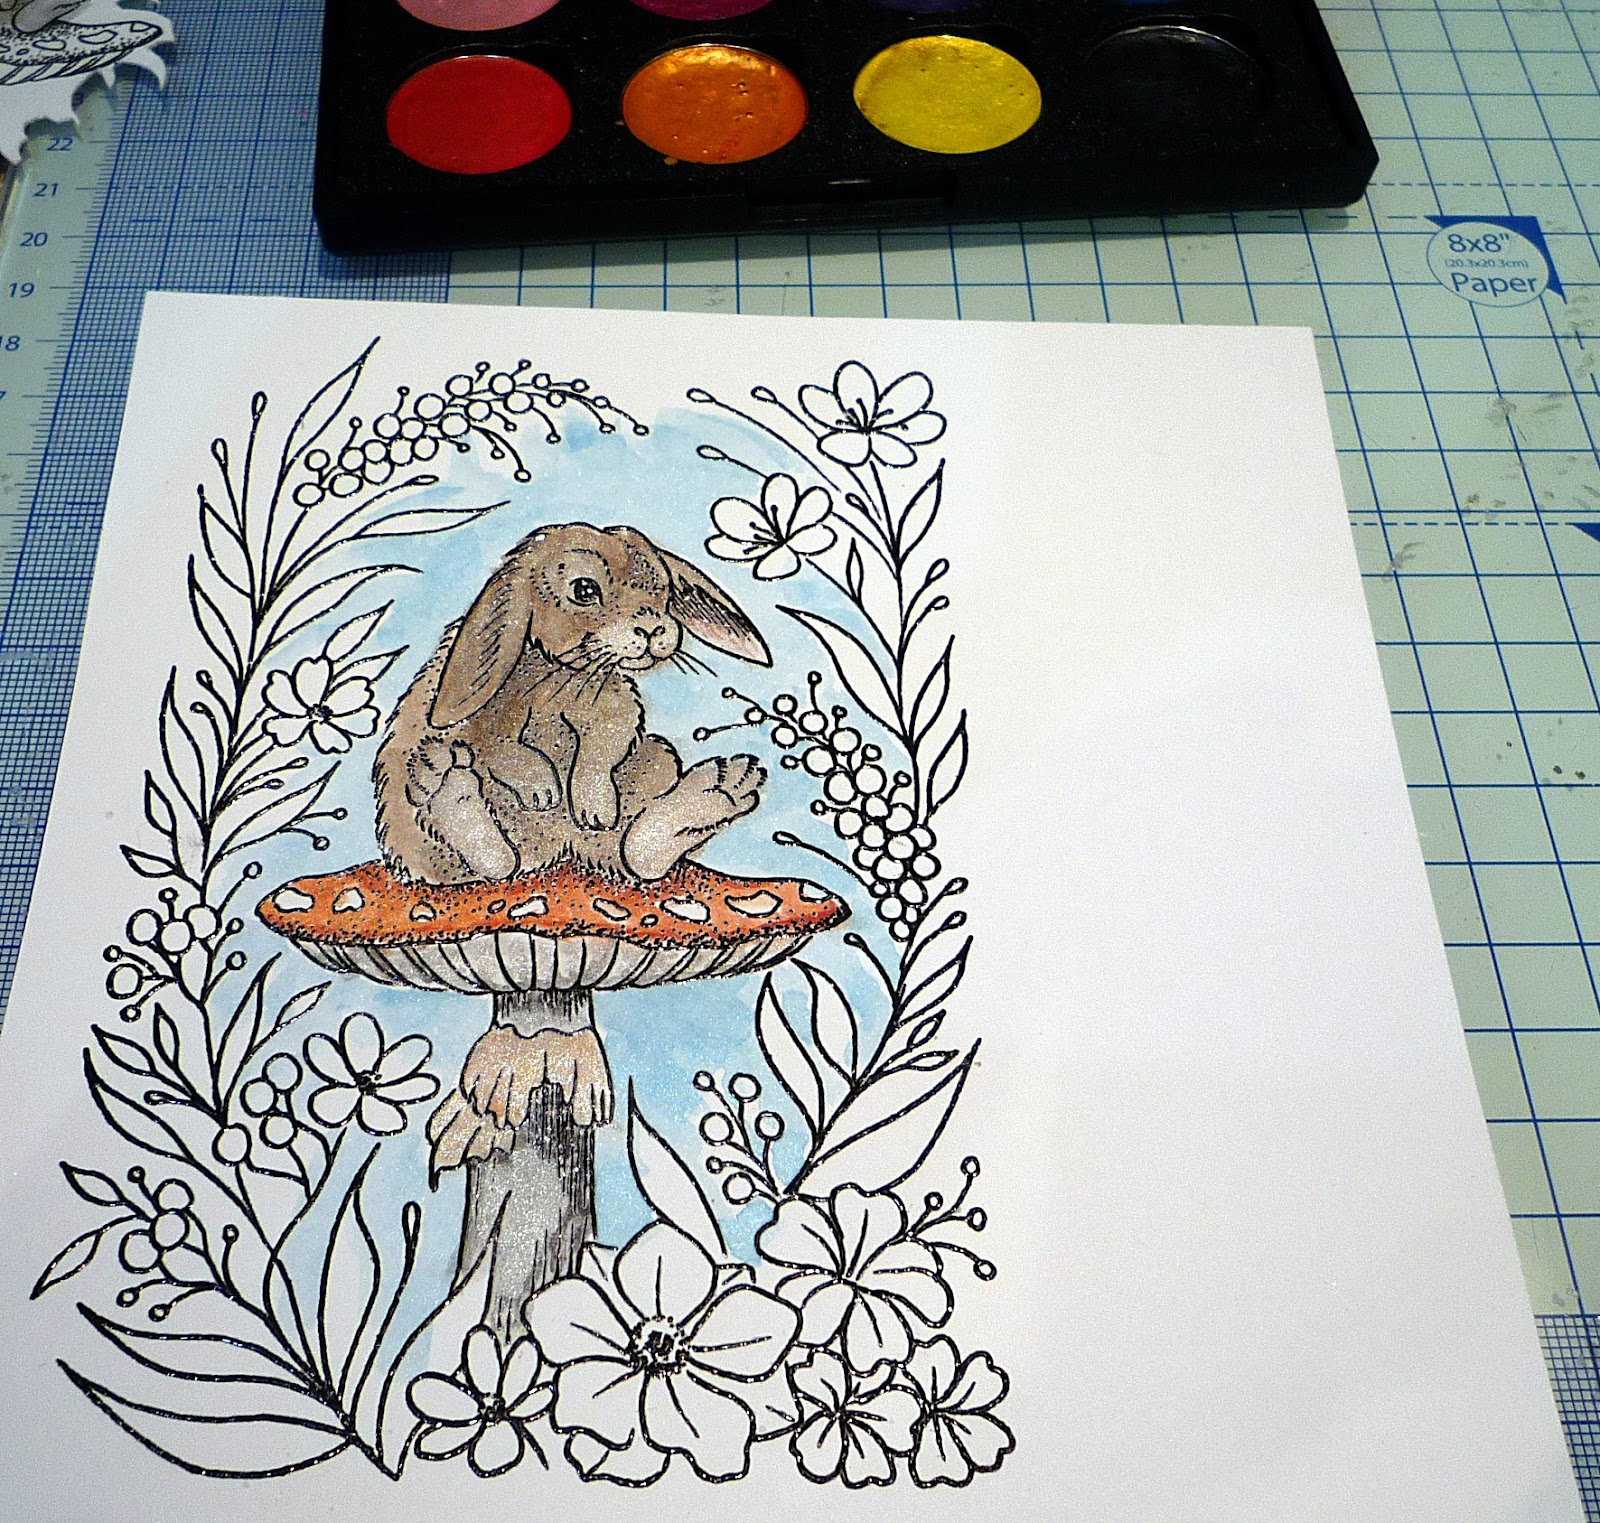
6. Paint the flowers and leaves with yellow and green, add a little yellow to the leaves.

7. Use pva glue to fix your bunny card to black card with a border of 3/16” (5mm) and attach it to a white 7” x 7” card blank.
8. Draw a square around the inside of your cut piece using a black fine liner pen, then draw a wiggly line in and out of the square.

9. In each section above and below your line, divide it up using curved black lines then fill in every other bit as shown below.

10. Use double sided 3d foam pads on the back of your cut out piece to attach it to your card.
A little pva glue on top of the foam will let you adjust the position.

11. Cut 4 of the “For You” sentiments from CEDSS002 in white card and glue them together. Cut the shadow dies out of black card and fix them to the back of the white words.
Paint with the yellow and green iridescent watercolours then glue them to the bottom right of your card.

I hope you have enjoyed this tutorial,
thanks, Ali Carubia xxx


No comments:
Post a Comment