Triple Embossing
This is my take on on the Triple Embossing technique, it has been around for ages, probably since the invention of heat guns and thermographic powder. It can turn bits of inked up card into little jewelled creations - fabulous !!
You will need
Swap out this tree silhouette for any of your favourite stamped images and play with this technique, it’s fun
Happy Crafting, Alison xx
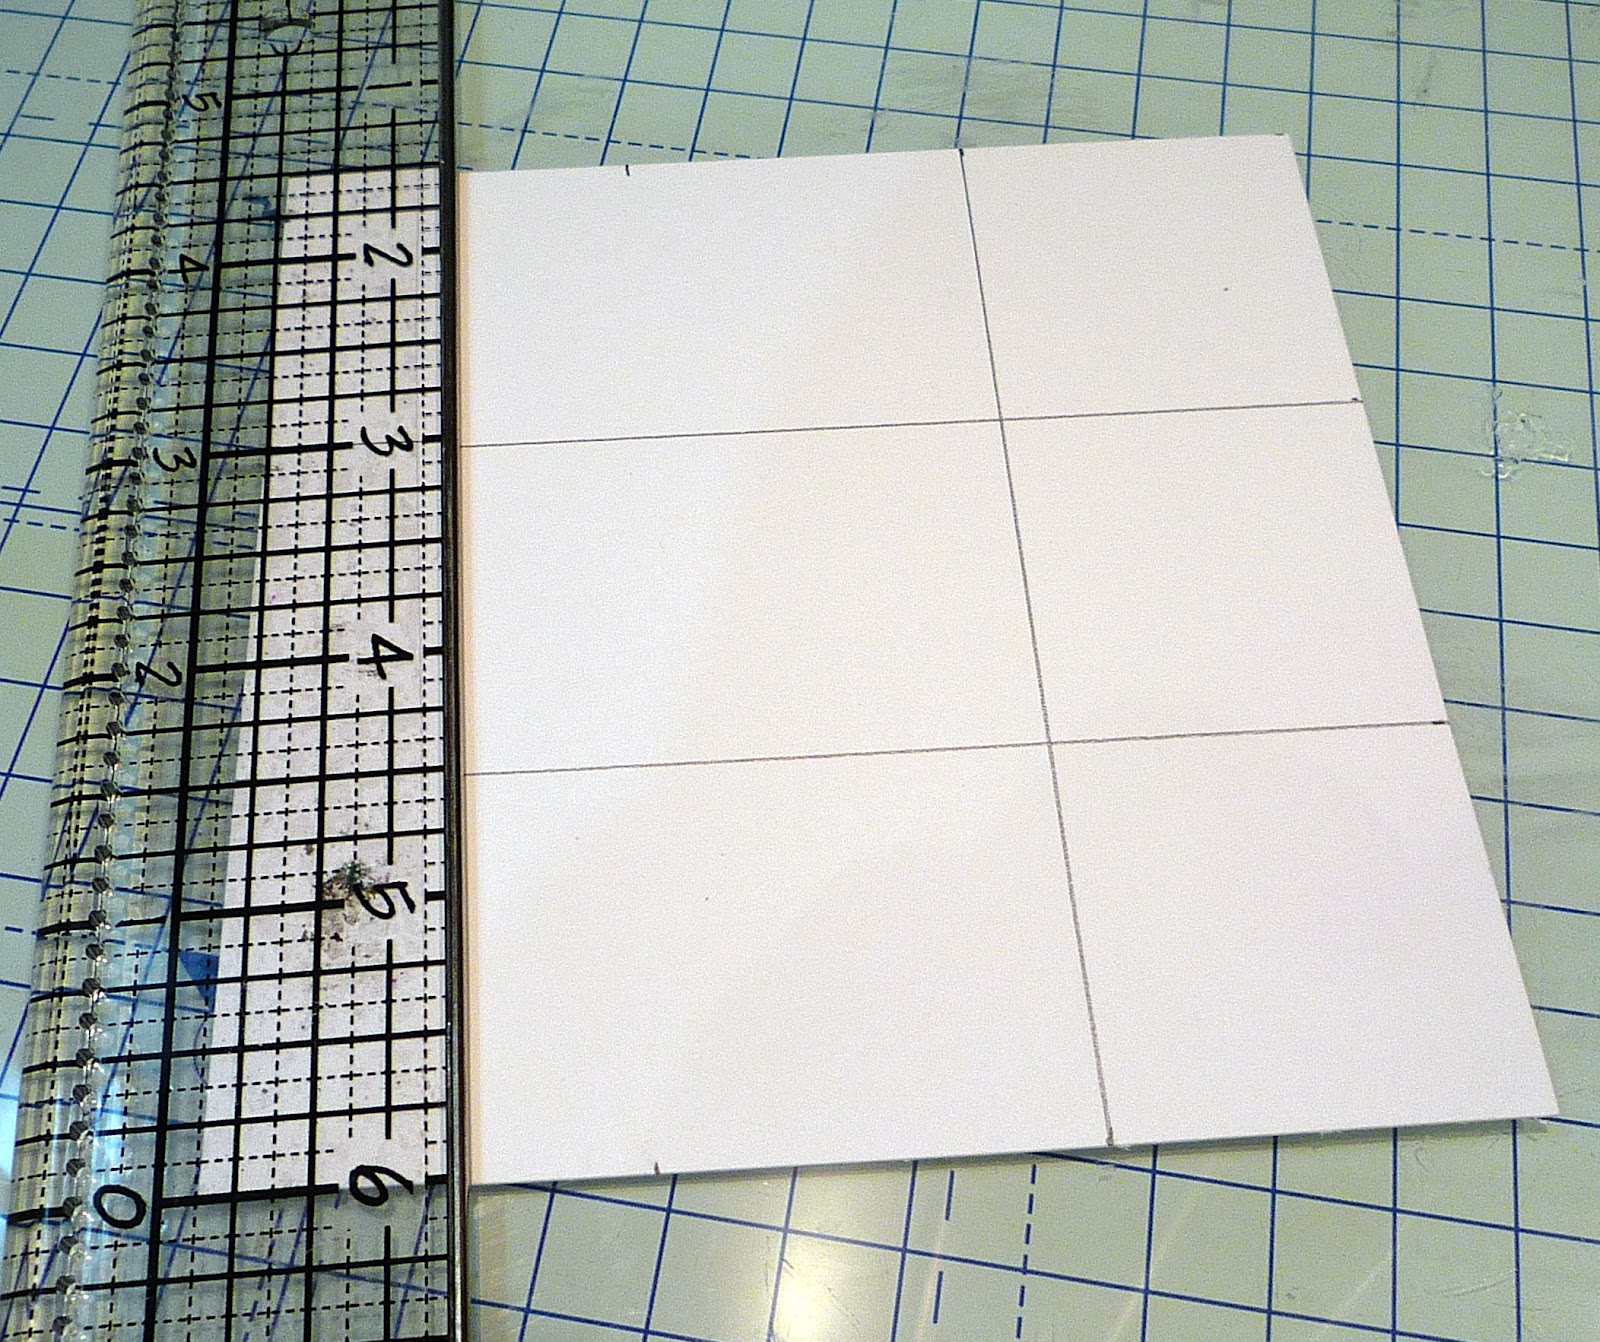
Taking your 4 ½” square card, draw a pencil lines at 1 ½” and 3”, quarter turn the card and repeat so that the card is divided into 9 squares.
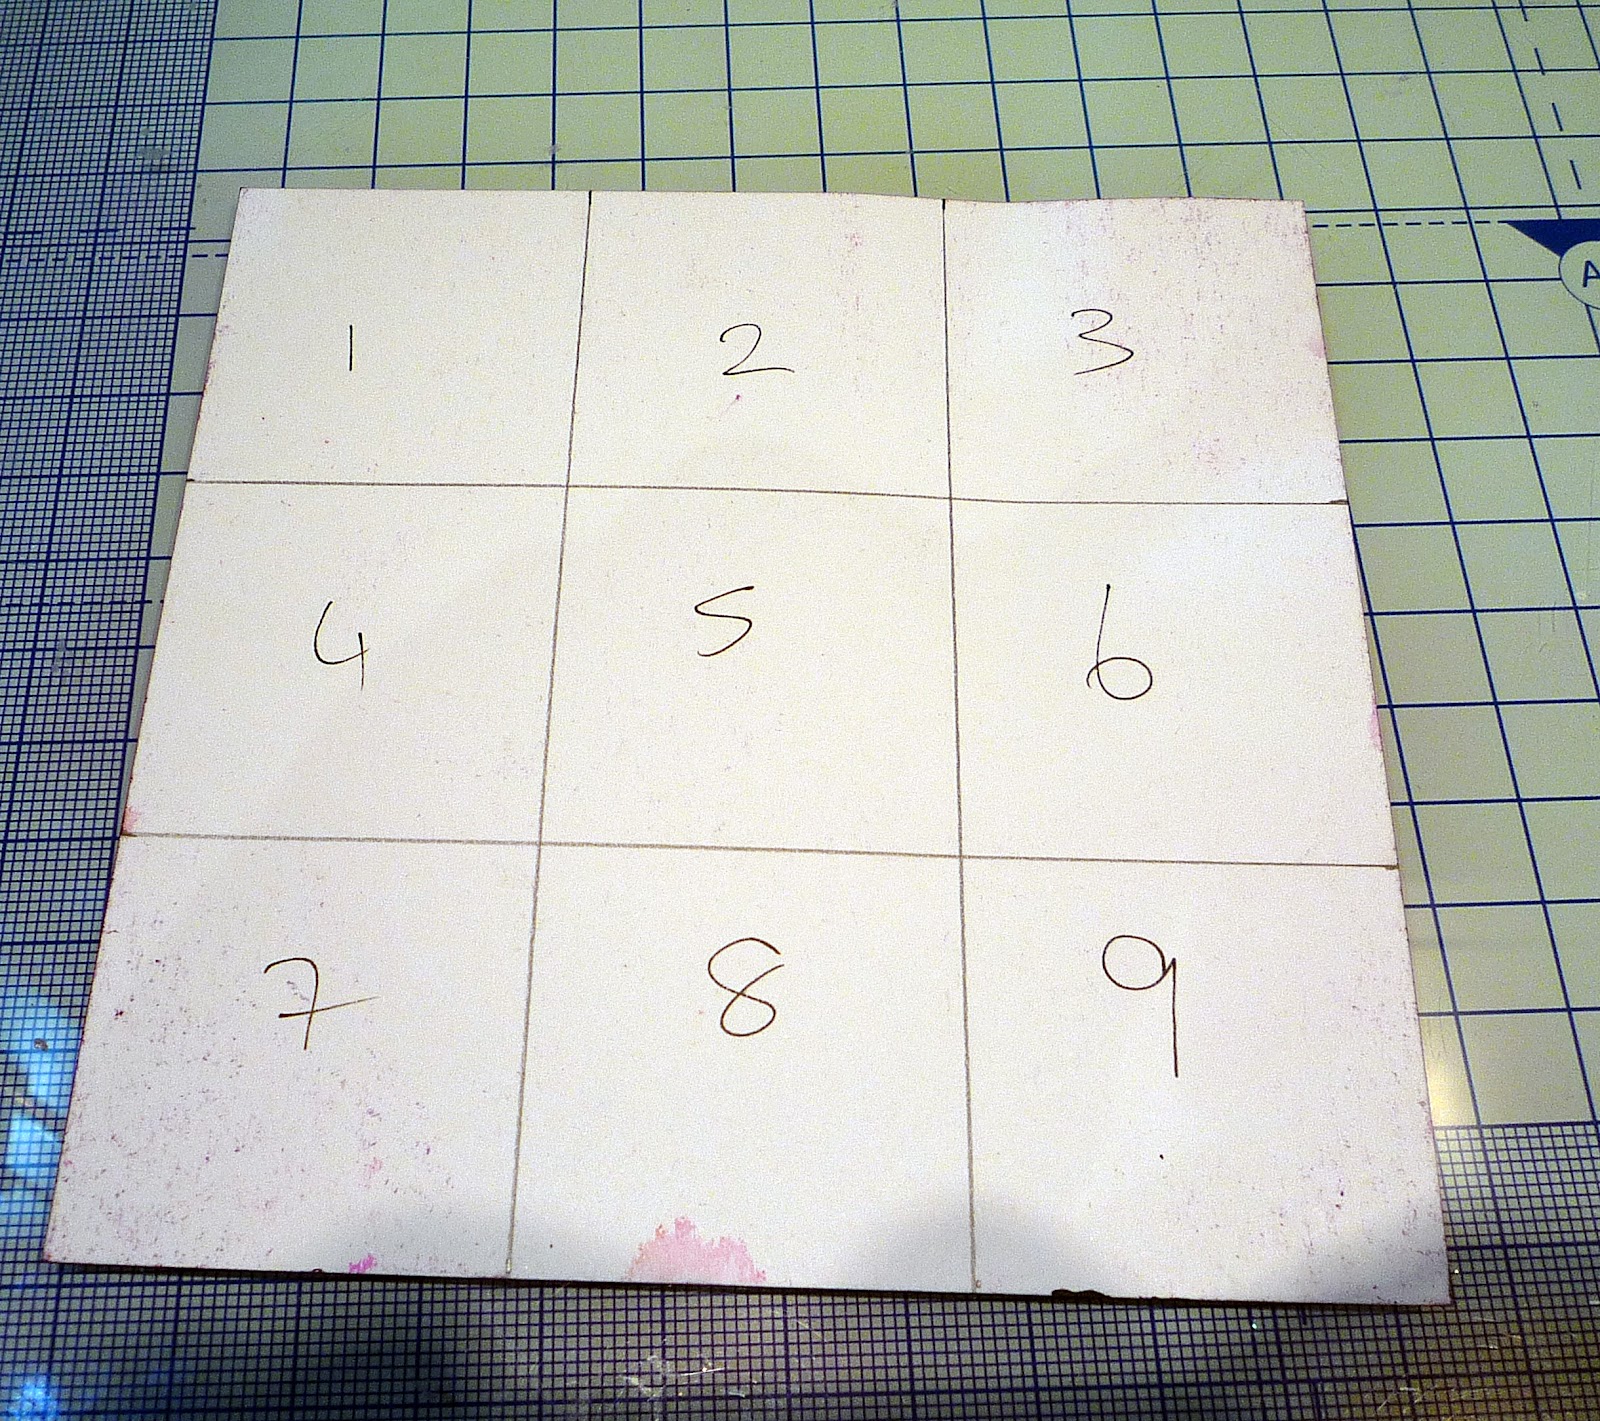
Number the squares 1 to 9 to make it easier assembling it again later.
Number the squares 1 to 9 to make it easier assembling it again later.
Turn the card over ready for your inks.

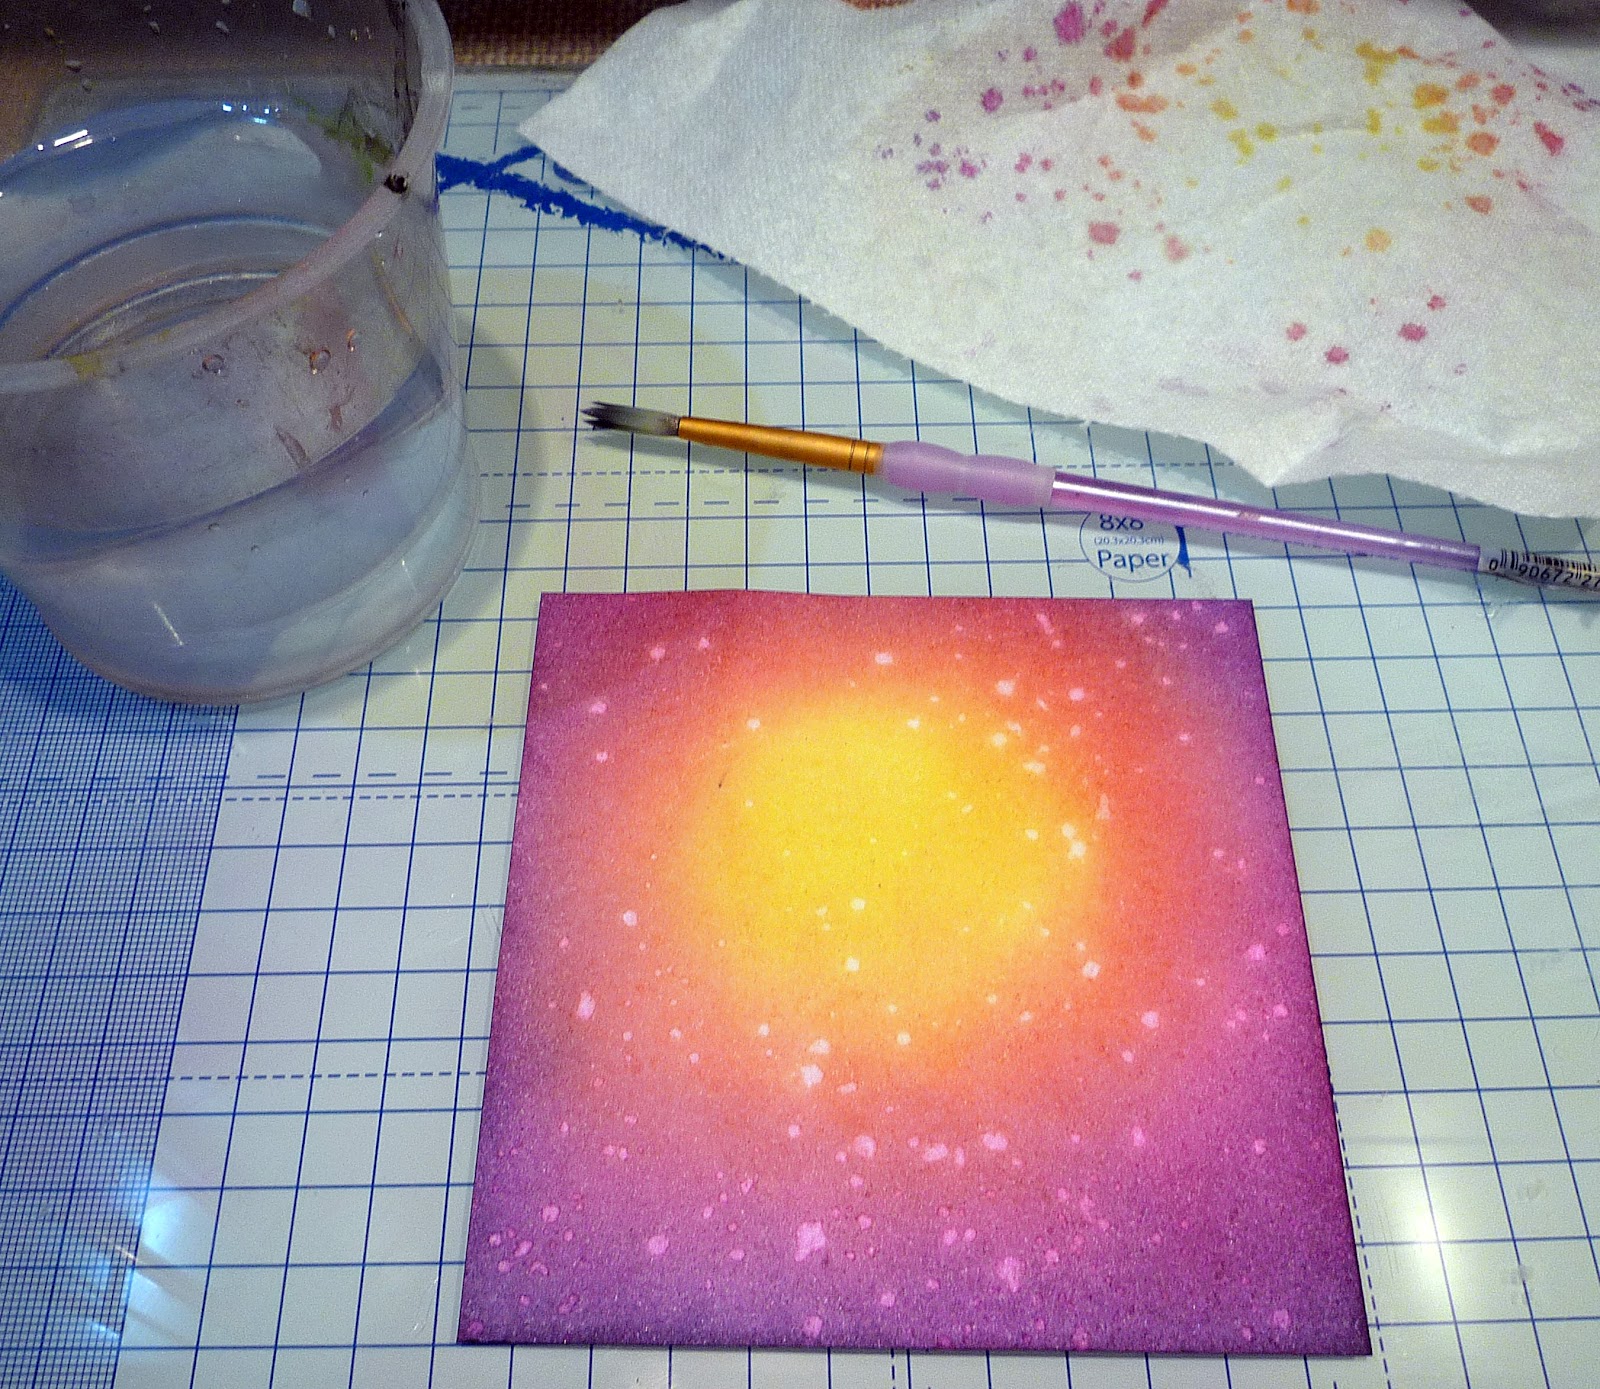
Ink up a large circle in the centre of your card using the yellow ink, switch your foam on your applicator over and apply the red in a ring around the yellow, then the pink ink, blending into the colour next to it but leaving the centre clean yellow. Use the purple ink to make a vignette around the edges of the card and blend into the pink.
Using a paint brush, sprinkle drops of water over the card and dab dry with a paper towel.


Paint some roots at the base of the tree and extend the branches on the left hand side if you have a little gap like on my card. Using the sparkle gel pen, apply some highlights around the tree - use the stamped image on the packaging to show you where the branches intersect.
Dry your card with the heat gun or leave to dry.
Turn your card over and following the lines, cut up your card into the 9 squares.

Next you will need your clear embossing ink and your clear embossing powder, apologies for the state of mine, they were clean once. You can also use UTE (extra thick embossing powder) but I found that it doesn’t stick to the ink as well as the finer one does.
Take one of your squares and press it onto the versamark pad, making sure all of the inked surface gets a coating of the sticky ink.


Pour a little heap of powder onto your piece of scrap paper and stick your inked up card into the pile, the grains will stick to the embossing ink.
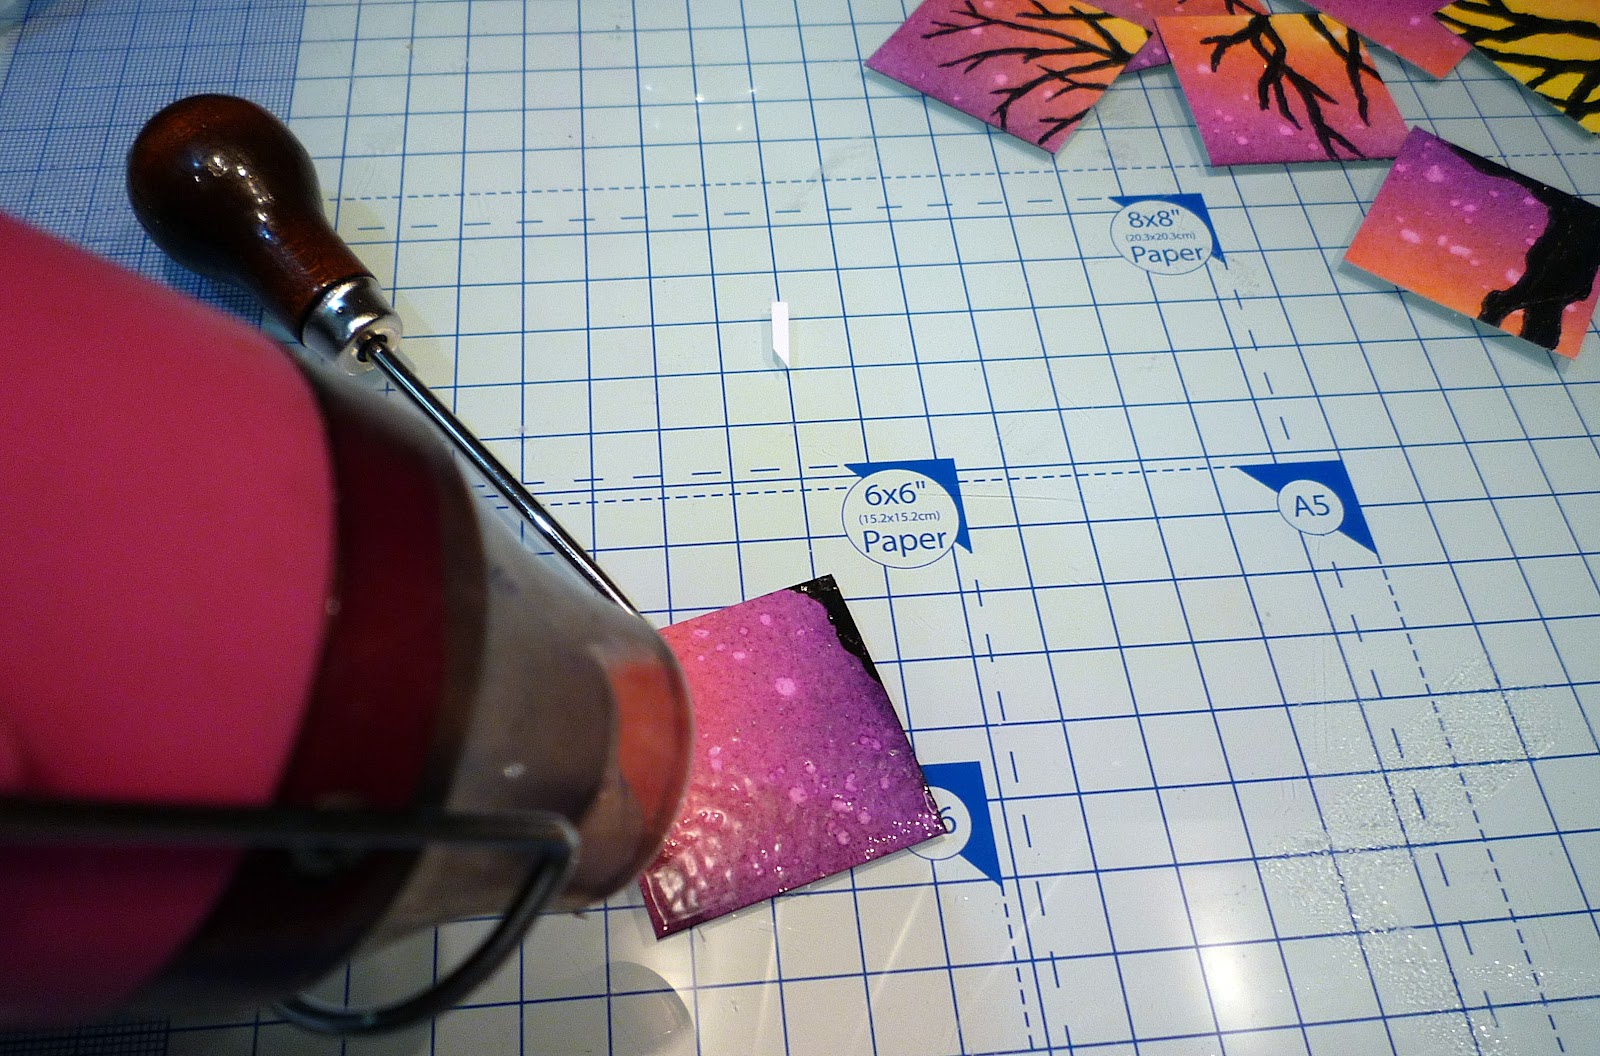
Place your square on your mat and hold it in place with either tweezers or your pokey tool.
Use your heat gun to melt the powder until it goes clear.
DO NOT TOUCH the melted plastic with your fingers as it will burn. Use your pokey tool to move the square away until it has cooled down.

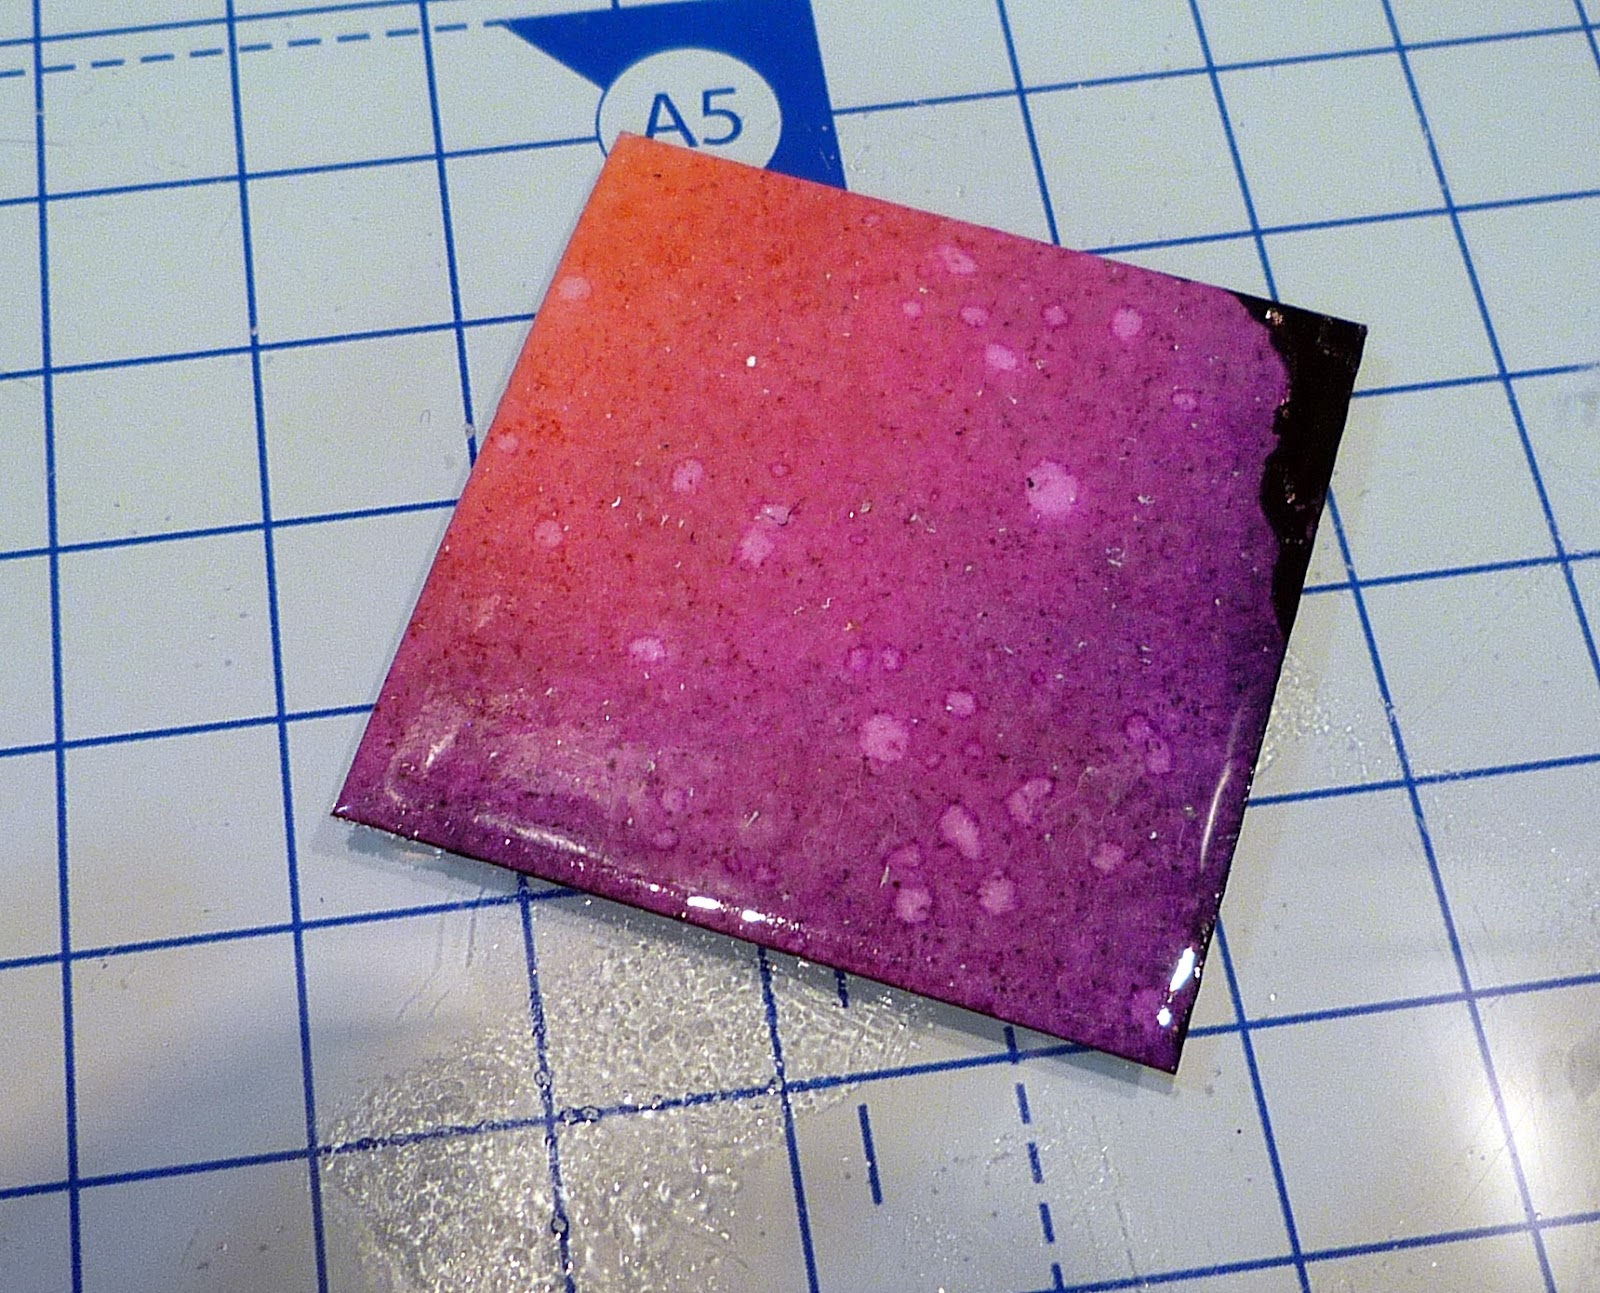
When the square is cool, press it into the versamark ink pad a second time, cover with embossing powder and melt with the heat gun. Leave the square to cool - it will take a bit longer as the melted plastic layer is thicker.
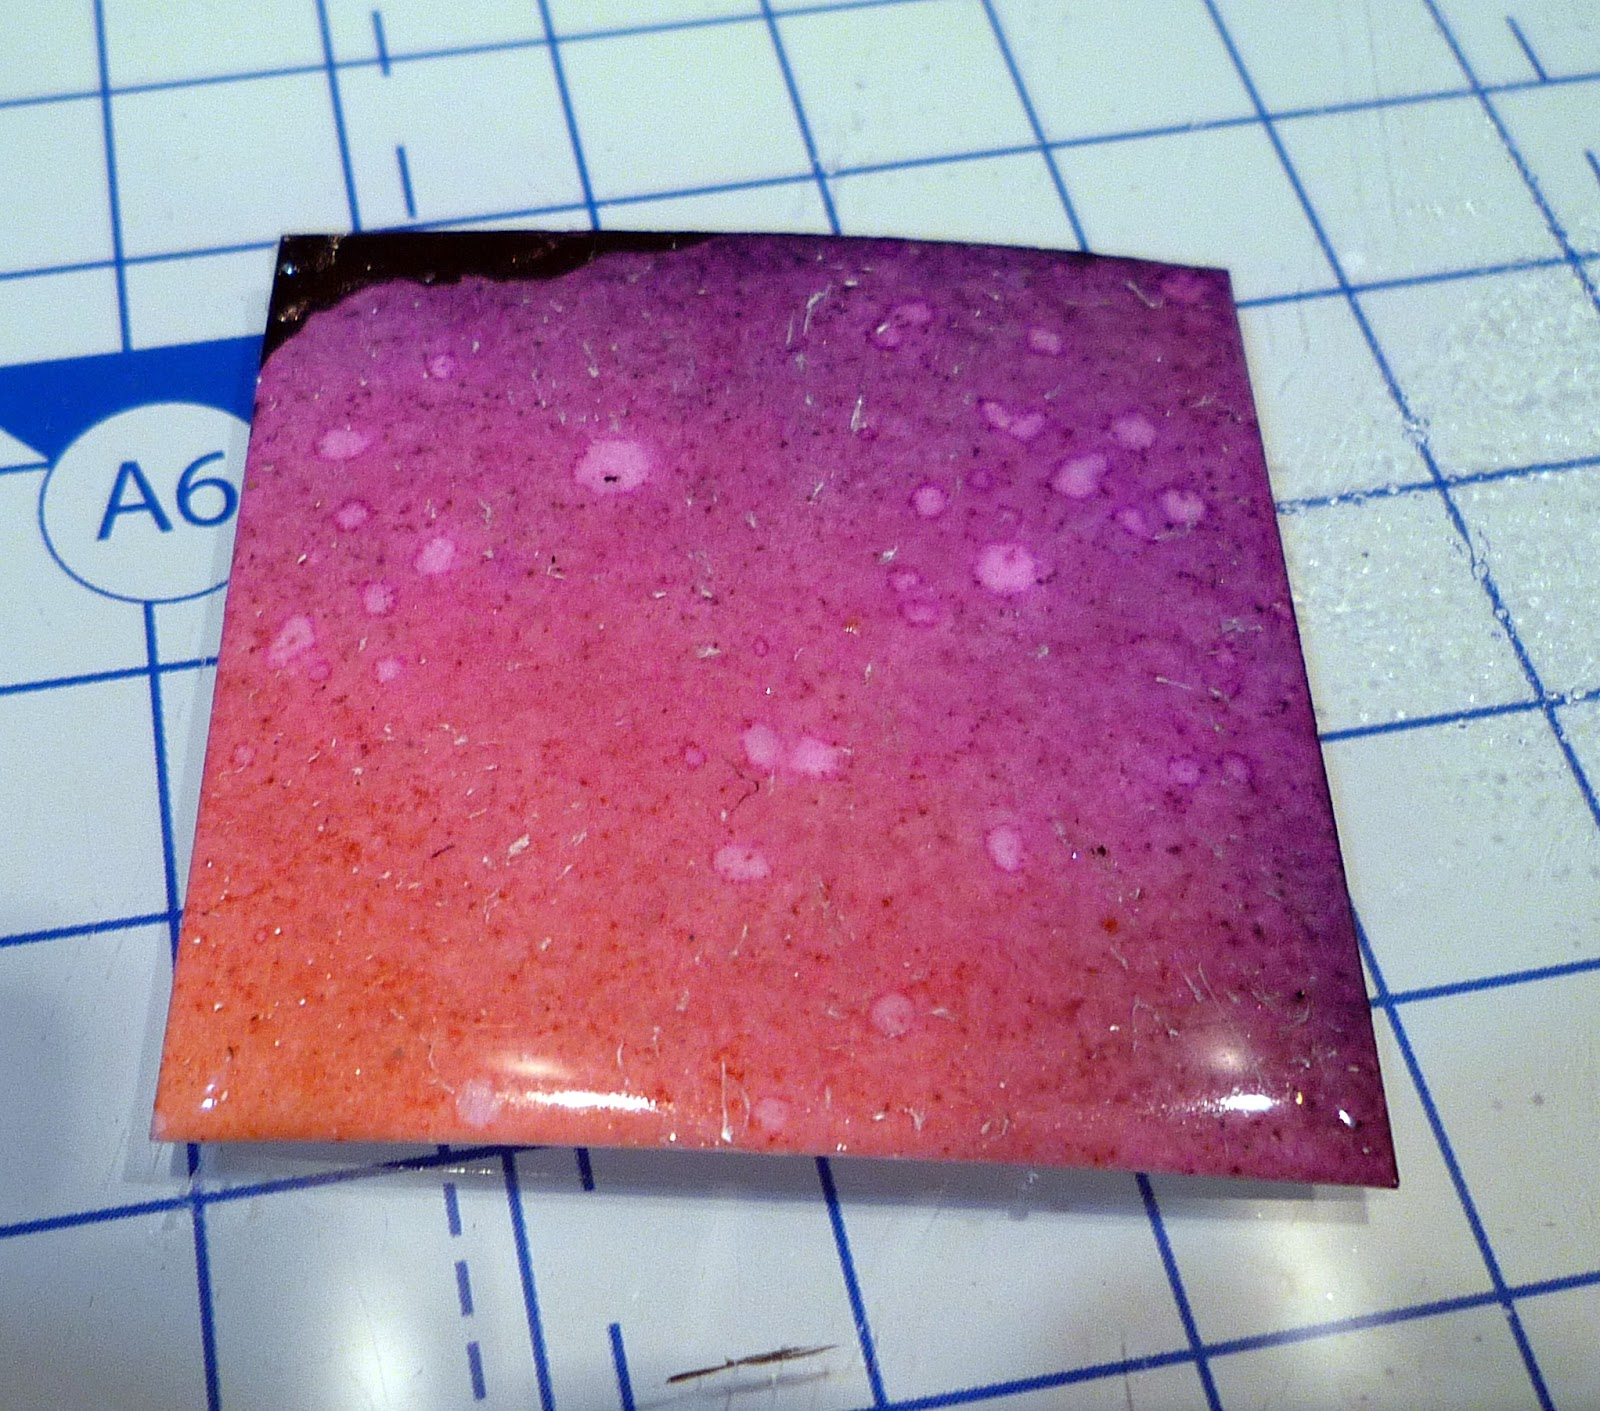
Repeat the inking, coating and melting for a third time and you will see that the card now has a lovely thick glass like layer. It is VERY hot so please take care and use your tweezers or pokey tool to move the piece away from you on the mat to cool down. It will take even longer to cool this time, due to the triple layer.
Repeat the inking, coating and melting for a third time and you will see that the card now has a lovely thick glass like layer. It is VERY hot so please take care and use your tweezers or pokey tool to move the piece away from you on the mat to cool down. It will take even longer to cool this time, due to the triple layer.
The second and third layers look like this -
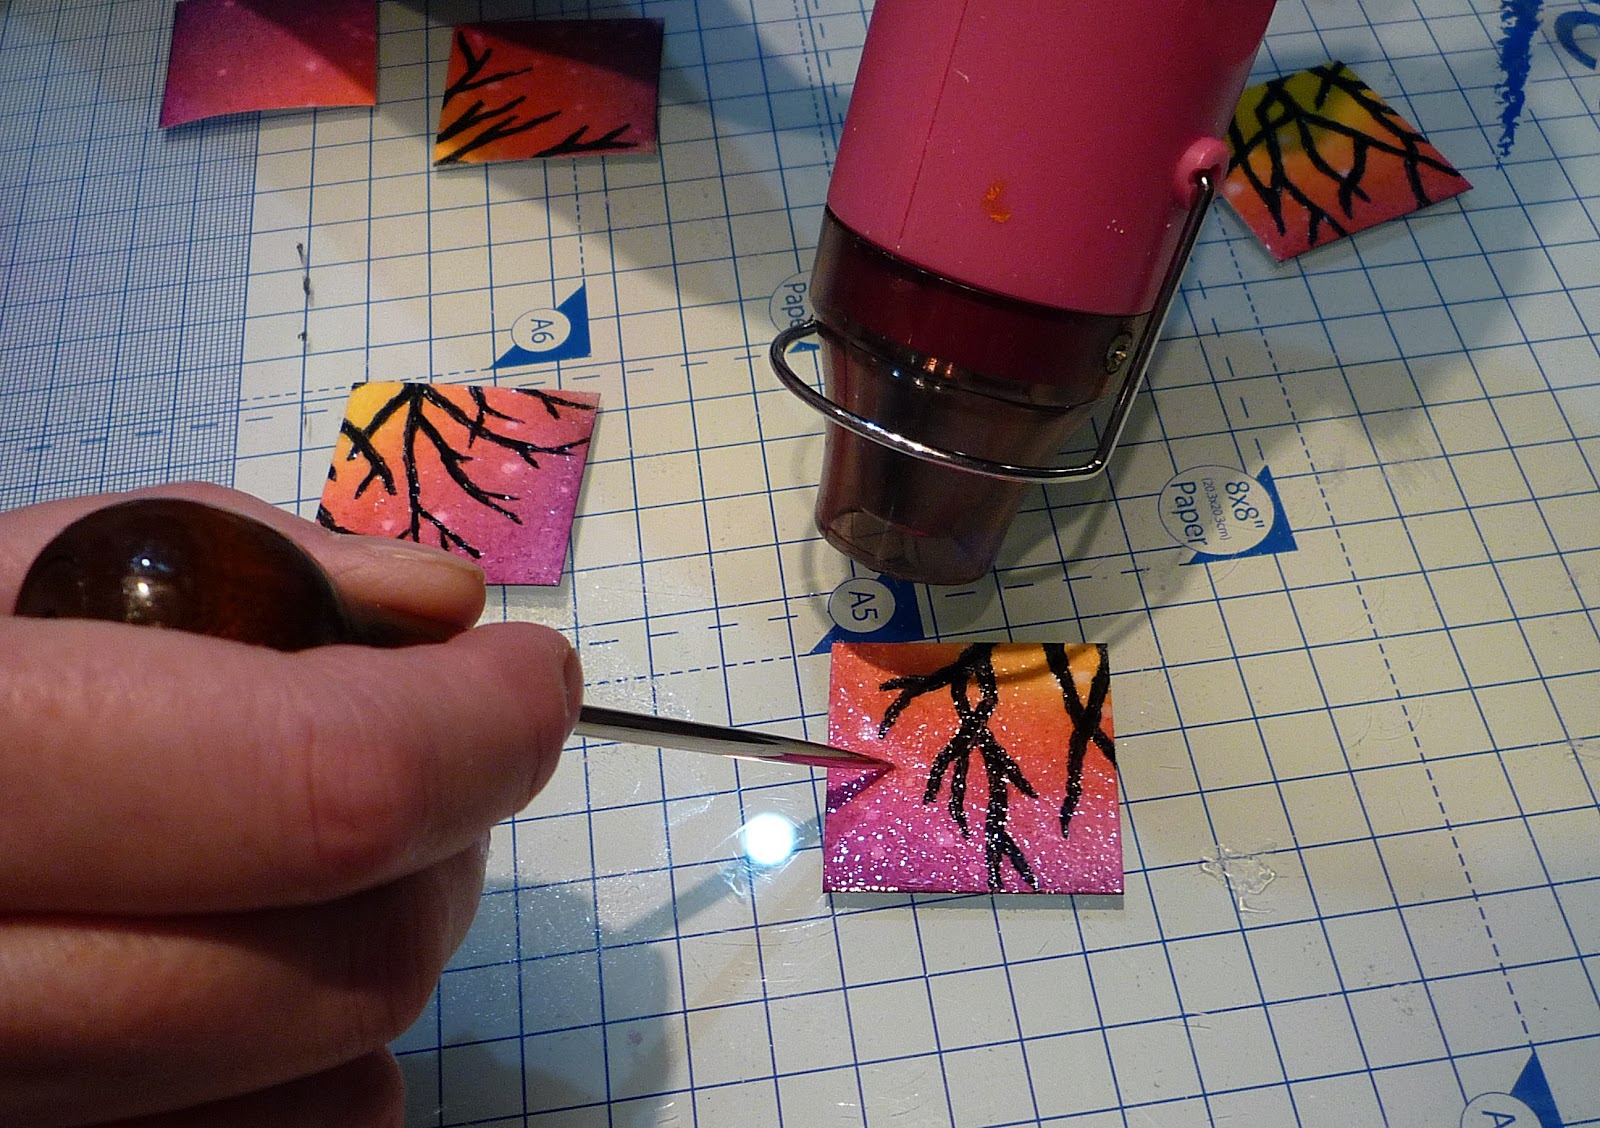
Now you are familiar with the inking, dipping and melting you can batch process the remaining squares, the versamark will stay sticky long enough to dip and heat several pieces at a time.
Things to watch out for are -
- Position your pieces far enough apart that they won’t blow against each other when the heat gun is on.
- ALWAYS use your pokey tool or tweezers to move the squares around.
- Only heat one square at a time and remember that your glass mat will get quite hot too.
- Give the square a quick blast after removing your pokey tool so that the mark heals over.
While your finished squares are cooling, admire their jewel like quality
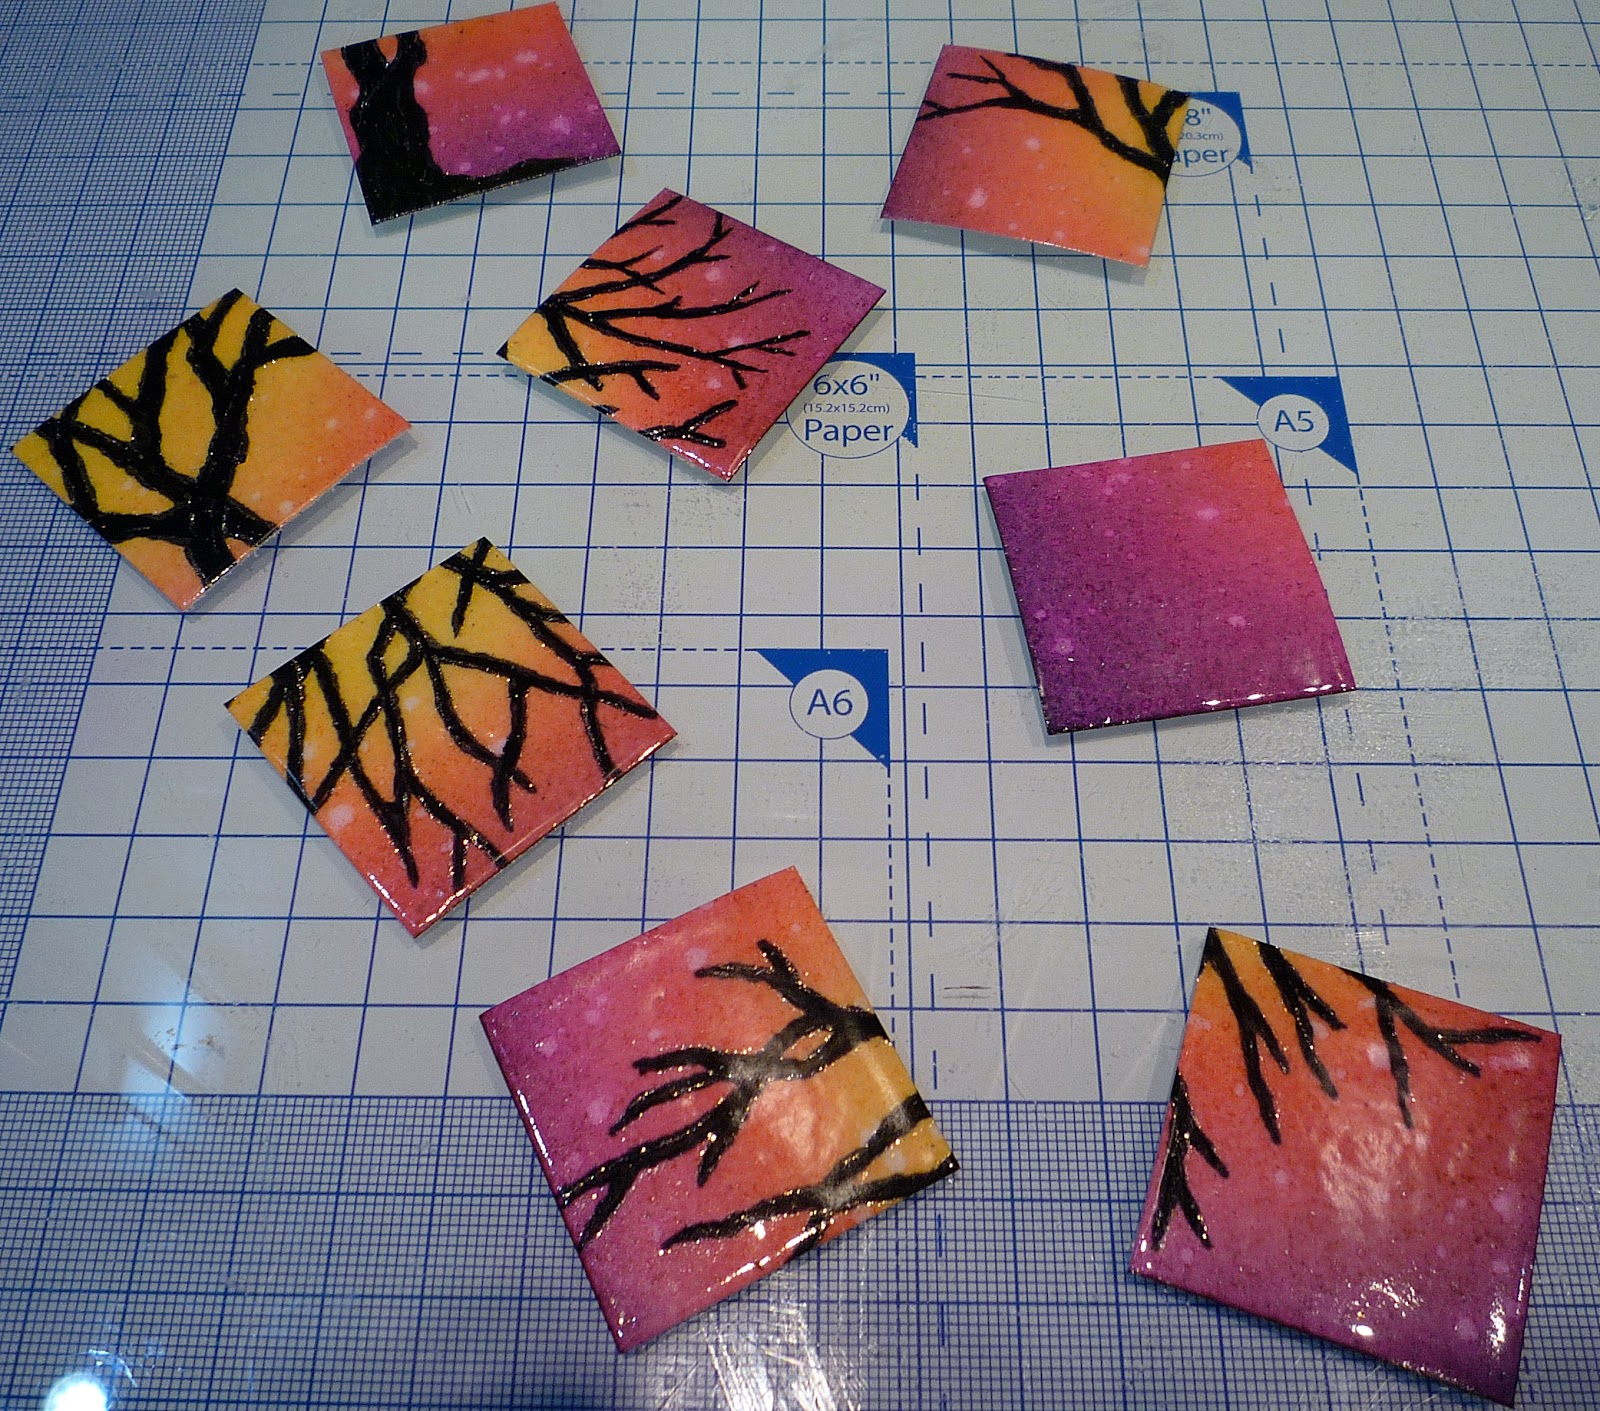


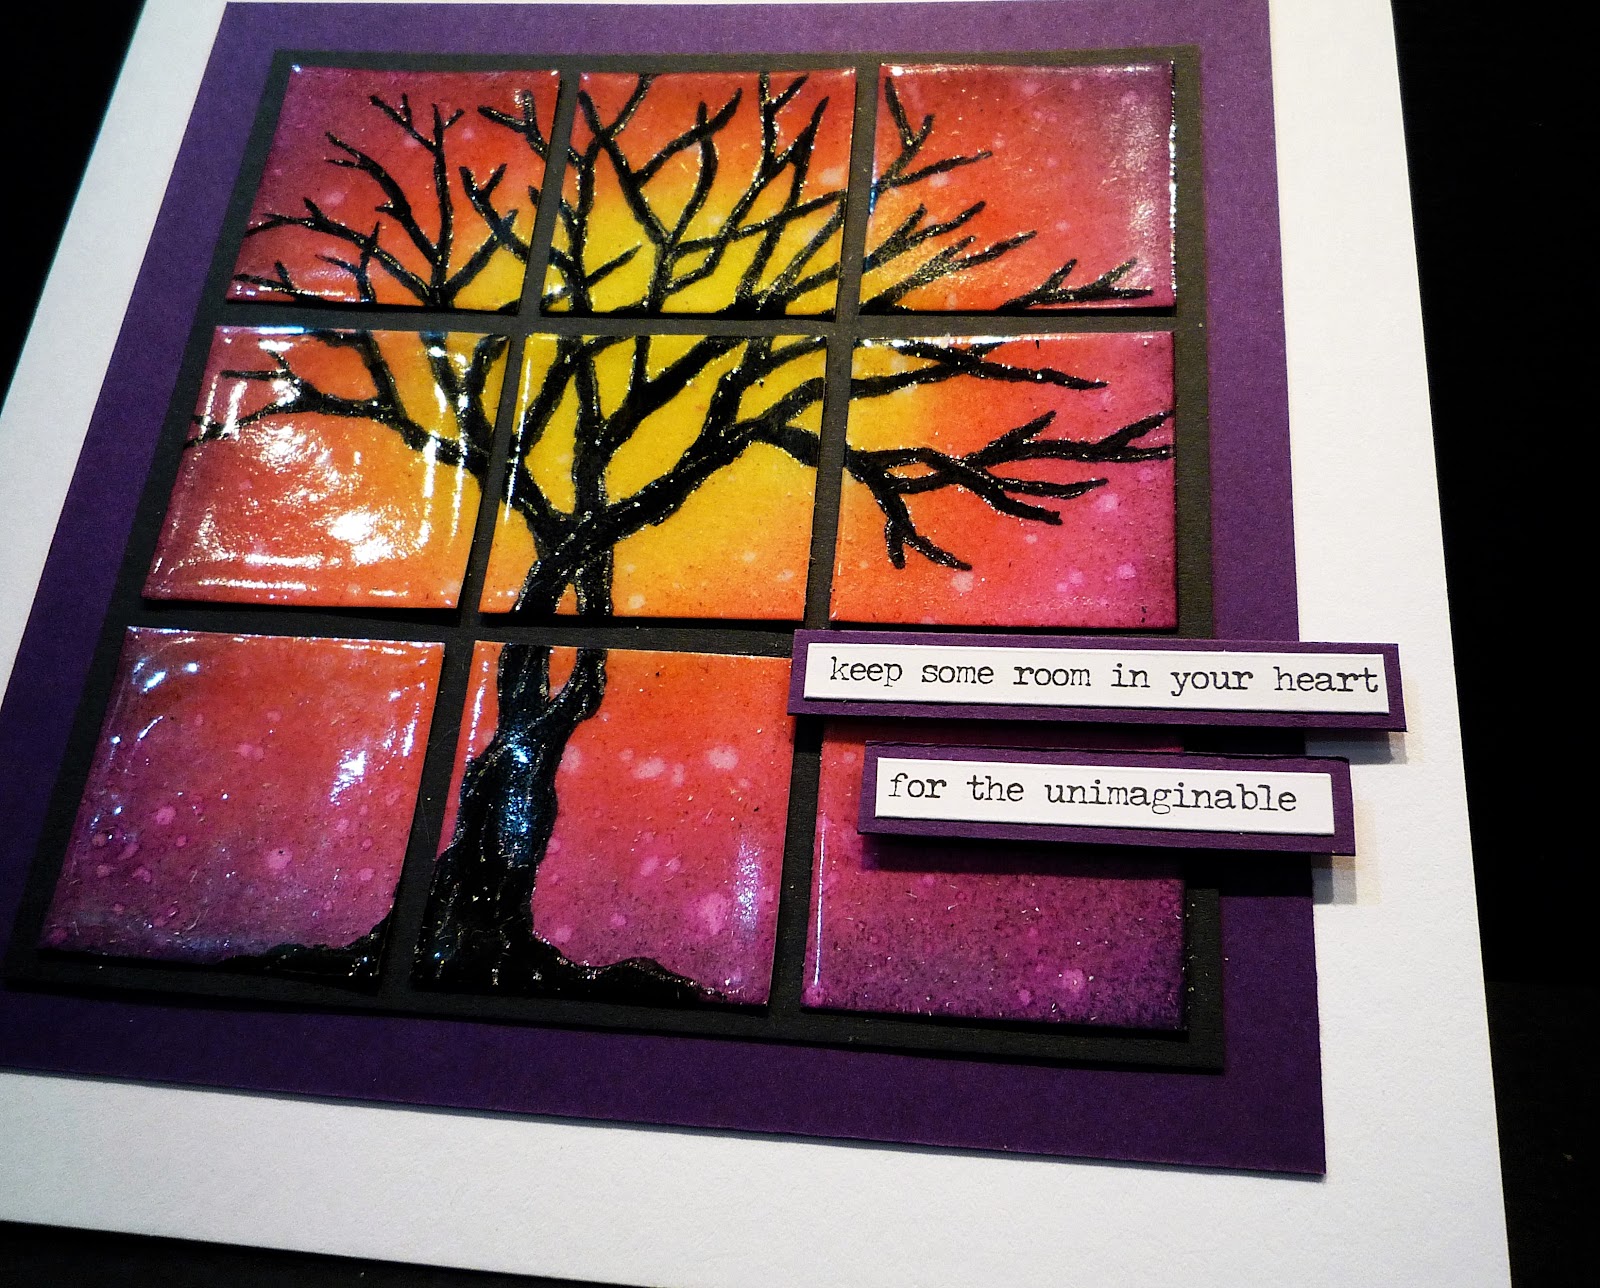
To finish the card I used red liner tape and pva glue to fix the squares to a 5” x 5” black card matt, starting with the corner pieces and then the middle ones. I then glued it to a 5 ¾” square purple card matt and onto a 7”x7” white square card blank.
I added a Tim Holtz small talk sentiment which hides where my gaps weren’t straight.
Hope you like it 😎


No comments:
Post a Comment