Today I'm sharing a project I've created for the brand new release of gorgeous Paper Cuts double edger dies. This card is very easy to make and you can have fun creating your inky backgrounds. Gwen Fletcher will be demonstrating these lovely dies on Create & Craft on Tuesday 13th July, shows are on at 7.30, 8.15, 3pm and 8.15pm BST.
Card Project Name : CE Paper Cuts Shimmery Christmas Tree-O

Items Used:
CEDPC1181 - CE Paper Cuts Christmas Tree-o Double Edger Craft Die
CEDME064 - CE Sue Wilson Mini Expressions Have A Warm And Cosy Christmas Craft Die
CSPMSSELECT - Cosmic Shimmer Shaker Electric Blue 10ml
CSPMSSDENIM - Cosmic Shimmer Shaker Denim Dash 10ml
CSPMSSCORN - Cosmic Shimmer Shaker Cornflower Blue 10ml
CSPMSSHEATHER - Cosmic Shimmer Shaker Heather Meadow 10ml
CSGLUE - Cosmic Shimmer Dries Clear glue
WW2916 - Woodware Fine Tip Applicator Bottles
Also - White Card, Black Card, paint brush, pokey tool, tweezers, water spritzer, heat gun, paper towel, 6”x6” white card blank
Steps :
Take an A5 piece of white card - watercolour or 315gsm foundation card and spritz with water on both sides to help it stay flat. Take each of your shimmer shakers in turn and tap lightly in different places over your damp card. Spritz your card again and the colours will burst into life. Add more powder and water if required. Mop up any deep puddles and run off with a paper towel and use a paint brush to break up any clumps of powder and cover any white patches. Leave to dry naturally.

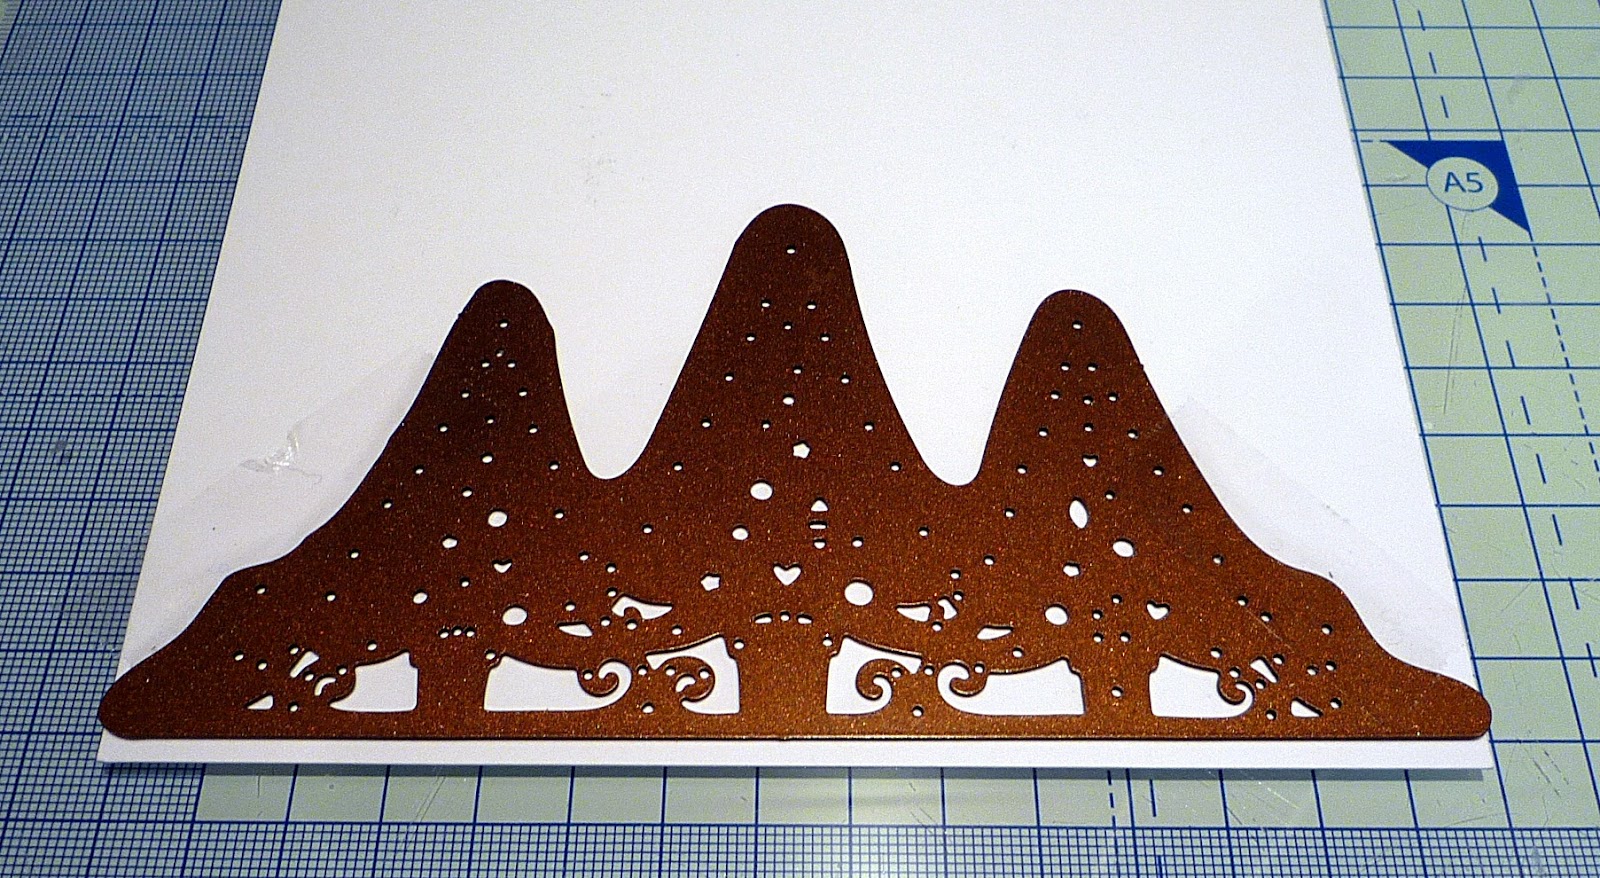
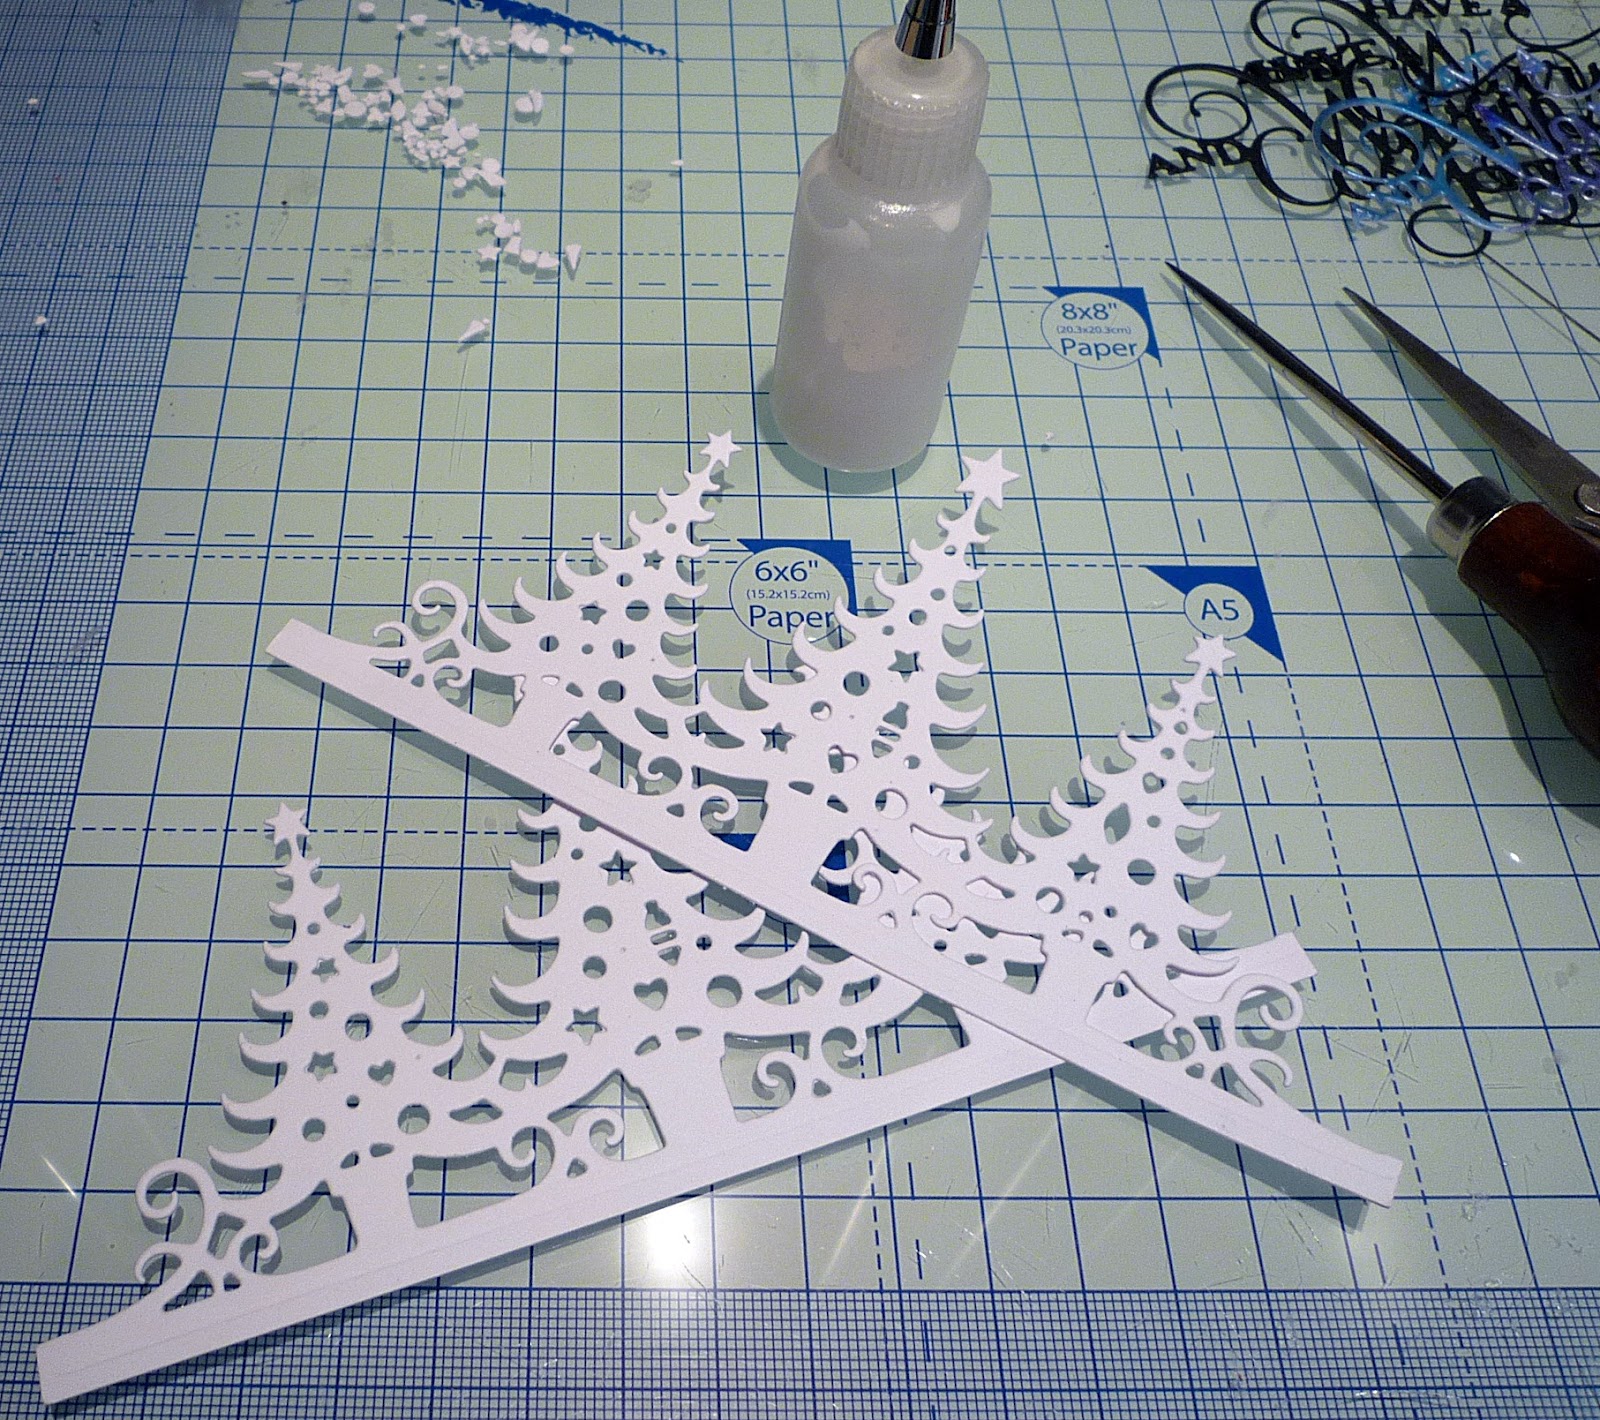
Die cut 3 Christmas Tree-o panels out of white card, leave about ⅛” or 3mm below the panel each time. Use a pokey tool to remove the die cut waste, keep the tiny stars, hearts and circles that fall out of the trees - we’ll use them later
Use pva glue to attach the 3 white tree die cuts on top of each other, making a solid tree panel
Use a heat gun to finish drying your coloured A5 card if it is still damp. Then cut a panel 3 ¼” x 5 ¼” from one end, mount this onto a slightly larger piece of black card with a border of about 1/16” and then fix it to the top of a white 6”x6” card blank with pva glue.
Trim the sides of the white tree panel if necessary so it will fit neatly onto your coloured panel then fix it into place with pva glue.

Apply tiny dots of glue in the sky around the trees and then attach the tiny hearts, circles and stars you saved earlier, tweezers may help here.
Die cut the Warm and Cosy Christmas sentiment CEDME064 once out of your leftover coloured card and twice out of black card. Glue the 2 black ones directly together with pva. Then attach the coloured sentiment slightly above and to the right giving a dropped shadow.

Use pva to glue your sentiment to the base of your card.


Absolutely stunning! x
ReplyDeleteThanks Debs xxx
Delete